Illustrator – Make 3D Letters Without The 3D Tool!
Stick around to learn how to make amazing 3D Text like this! 
Create The Canvas And Text
First thing you will need to do is to open a new document.
Then you just have to set your text up!
To have it nice and big we put it to 130pt size.
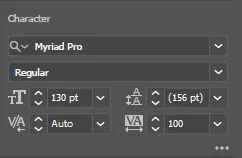
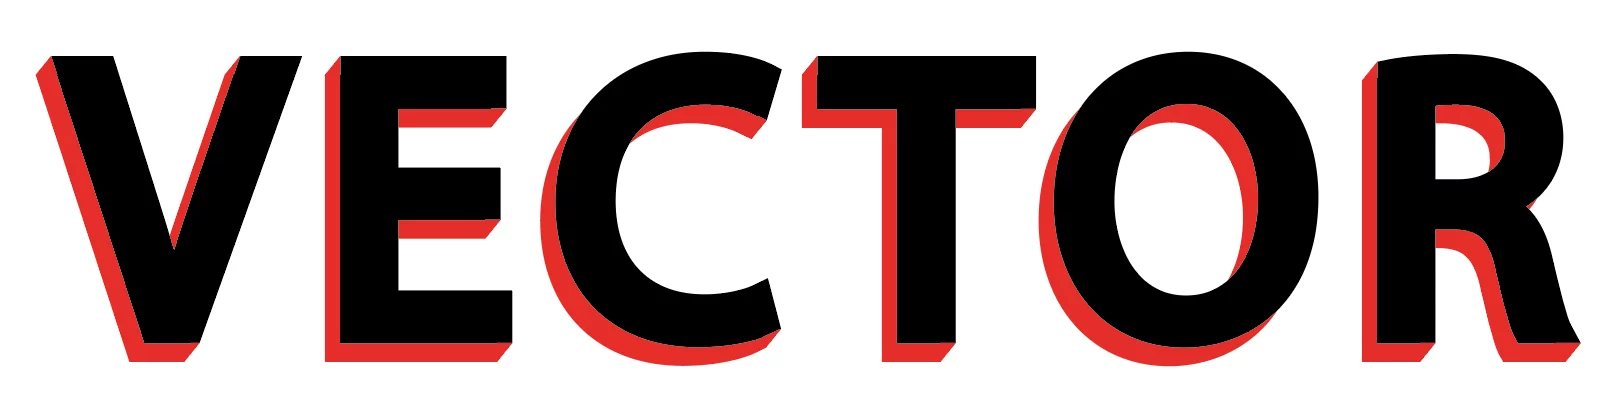
Write the word you would like, for this tutorial we are using the word “Vector”!

Next add an 8pt stroke to your letter, it does not matter what colour it is as the colours will be changed later on!

Now you need to expand and ungroup the text.
To do this, go to “Object”, “Expand” a dialog box will come up just click ok.
Then go back to “Objects” and go to “Ungroup”, this will turn the text into individual letters.
To turn the stroke in to a shape you need to repeat this process one more time.


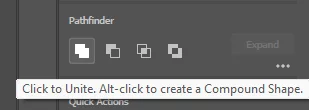
Next select all the letters and go to the “Pathfinder” panel and chose the first tool “Unite”.
This will join everything together.
Copy and paste this over the other one and change the colour so you can easily see the two copies.
Now we have the two texts like so!

Our Illustrator courses also have step-by-step guides like this!
Using The Pen Tool To Join Up The Letters
To make the text look 3D you will need to do the following.
Use the pen tool and fill in the gaps in-between the two letters.
Let’s start with the letter V, what you need to do is to select the pen tool and join up the edges as shown below.
This will give you the edges of your letters!


After all the letters are complete you should have something like this!
Adjust The Colours
Now we want to adjust the bottom layers colours, so thats its a dark version of the red.
You can do ths either with the pre created colors or the custom CMYK editor!
We like to use the CMYK editor and adjust the darkness manually that way.

Then you want to go back to the top layer and make that the original brighter red colour.
Finally your image is done!
For more on Illustrator, read our guide on how to turn a hand drawn image into a vector image!