
How Do Until Loops Can Help You – Power Automate
Contents
- 1 What Is Do Until in Power Automate?
- 2 The Different Conditions That Can Be Used in A Do Until Loop
- 3 A Simple Example of a Do Until Loop in Action
- 4 Step 1: Creating A Do Until Loop in Power Automate
- 5 Step 2: Configuring A Do Until Loop
- 6 Step 3A: Testing A Do Until Loop
- 7 Step 3B: Testing A Do Until Loop – Change of limits
- 8 Conclusion
There is often a need to execute certain actions or instructions repeatedly. This can be achieved by using loops in Power Automate.
A loop in Power Automate is a control that can automate actions.
In this article, we look in detail at using Do Until loops in Power Automate. We learn how to use it, set up conditions and configure limits, using some simple examples.
What Is Do Until in Power Automate?
Do Until in Power Automate executes an action or series of actions until a specific condition is met.
The actions within the Do Until loop are always executed at least once as the condition is checked at the end of each time the loop is executed.
If the condition evaluates to false, the set of actions is repeated and checked again at the end of the loop.
Do Until loops are covered in detail on our Power Automate Courses.
The Different Conditions That Can Be Used in A Do Until Loop
A condition is a statement which is evaluated at the end of every iteration.
The result of this evaluation decides whether the execution of loop has to be stopped or continued.
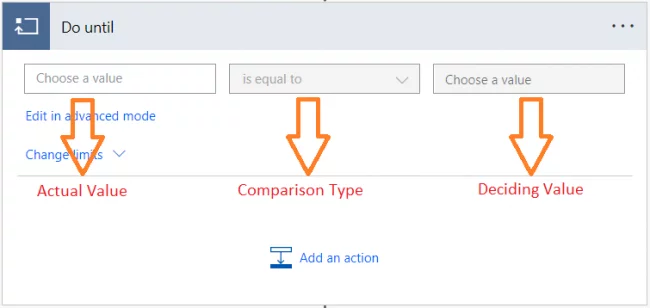
Power Automate provides a number of comparison types for setting up the condition.
- Contains: Verifies if the actual value contains the deciding value.
Example: To check if the deciding value is a substring of the actual value in case of string comparisons.
- Is Equal to: Verifies if the actual value and deciding value are equal.
Example: To check if actual and deciding values are equal.
- Is Greater Than/Less Than – Verifies if the actual value is greater than or lesser than deciding value.
Example: To compare numeric values.
- Is Greater Than Or Equal To/Less Than Or Equal To: Similar to the above type, but this also returns true if the actual value and deciding values are equal.
- Starts With/Ends With – Verifies if the actual value starts with or ends with a specific character(s).
Example: To check if actual value starts or ends with a specific string.
In addition to these, Power Automate also provides the negative of the above comparison types i.e. Does not Contain, Is Not Equal To, Does Not Start With, Does not End With.

The condition can also be added as an expression by clicking on Edit in advanced mode.
A Simple Example of a Do Until Loop in Action
Let us now look at a simple example to see a loop in action.
We will simulate an online auction. The minimum bid amount will be $10 and the maximum bid amount $99.
Let’s start with a manually triggered flow to run the auction. For more details see our article: All About Power Automate Triggers
Step 1: Creating A Do Until Loop in Power Automate
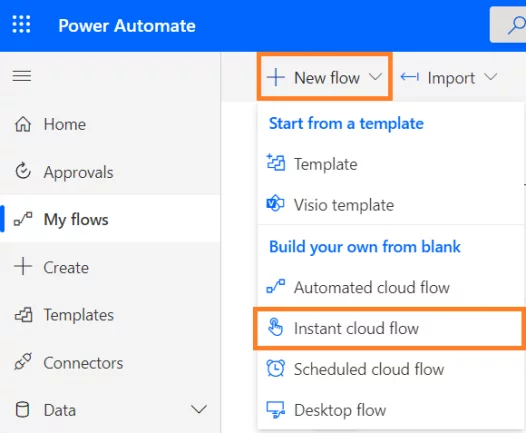
1. Create an Instant Cloud Flow – Click on Instant Cloud Flow under New Flow.
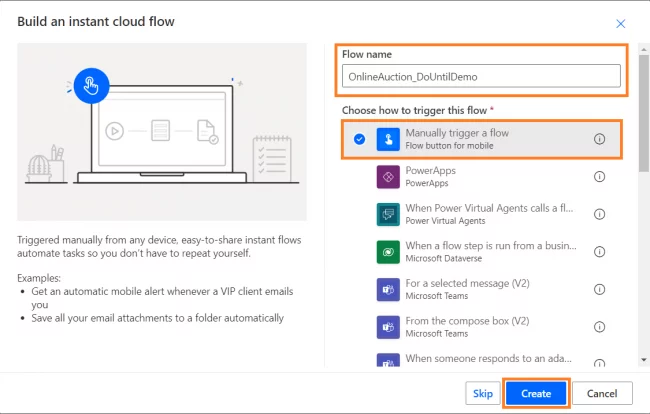
2. Enter the Flow Name, select Manually Trigger a Flow, click on Create.
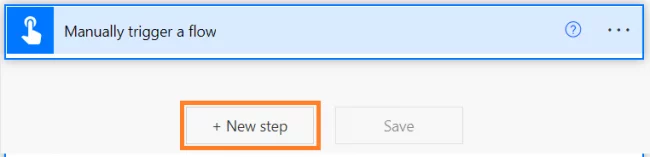
3. Click on New step.
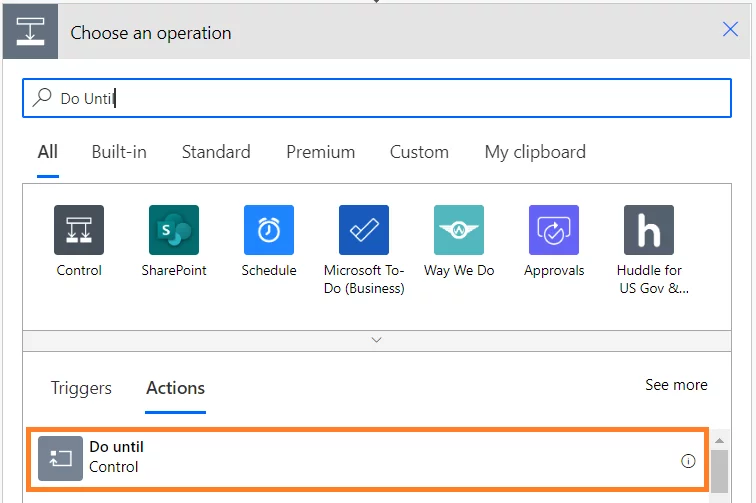
4. Click on Control or enter Do Until in the search box.
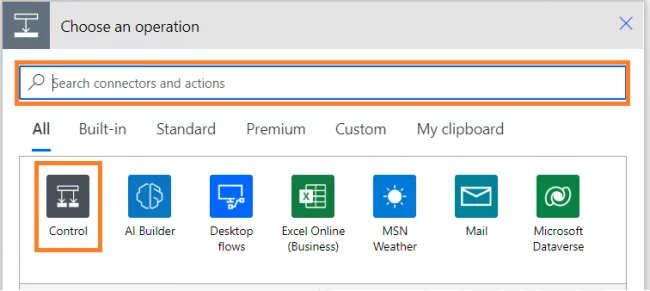
5. Select Do Until Control under Actions tab.
Step 2: Configuring A Do Until Loop
Let’s target a total of $3,000 at which point the auction will end.
We can now configure the Do Until loop with this condition.
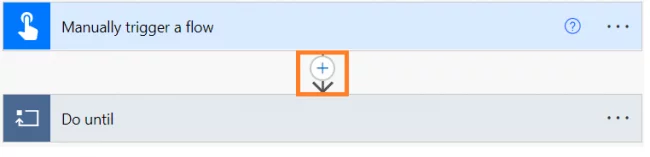
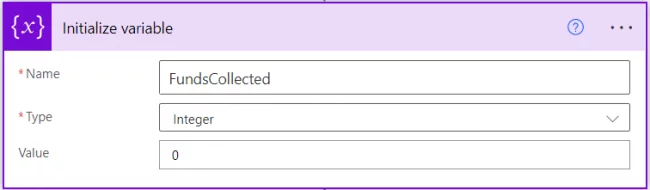
1. Let’s initialise a variable to store the amount collected. Click on Insert a new step icon before the Do Until action.
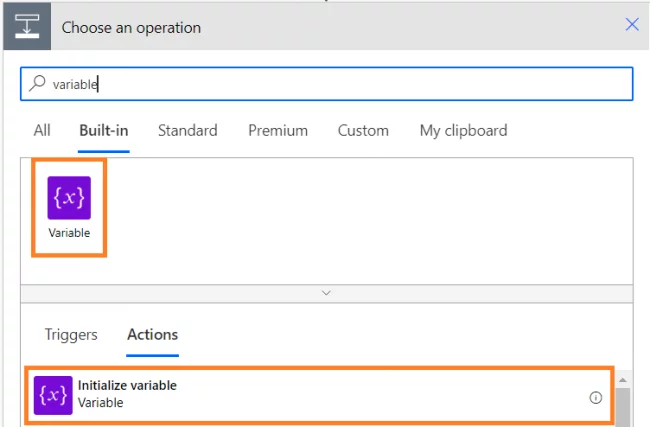
2. Click on Variable in the Built-in tab. Select Initialize variable action.
3. Enter the Name as “FundsCollected”, select Type as “Integer” and set the Value to “0”.
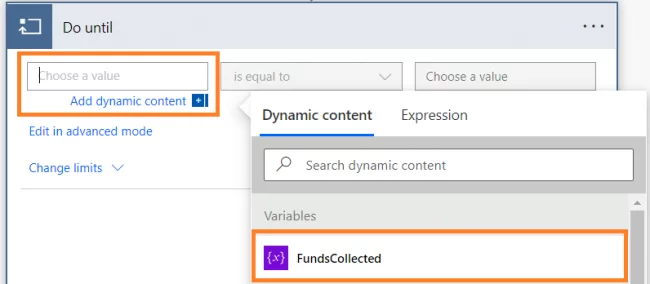
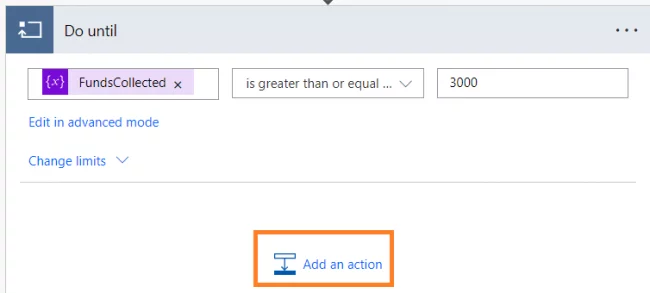
4. Let us configure the condition in the Do While loop action next.
Select the “FundsCollected” variable from the Dynamic Content tab. This is the actual value.
5. Select the comparison type – “is greater than or equal to” and set the deciding value to “3000”.
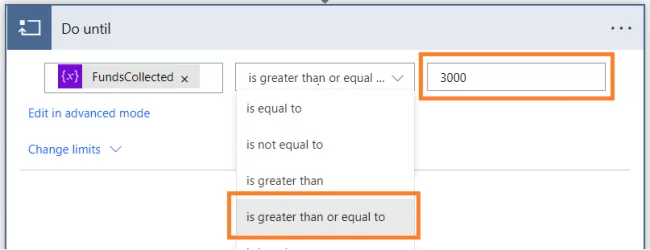
We want the loop to iterate until we reach at least $3,000.
We can see the condition in the form of an expression by clicking on Edit in advanced mode link.
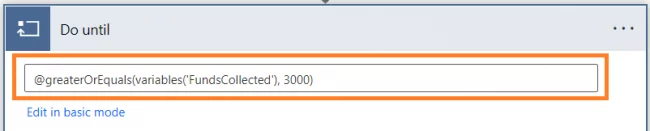
Click on Edit in Basic mode to get back to basic mode.
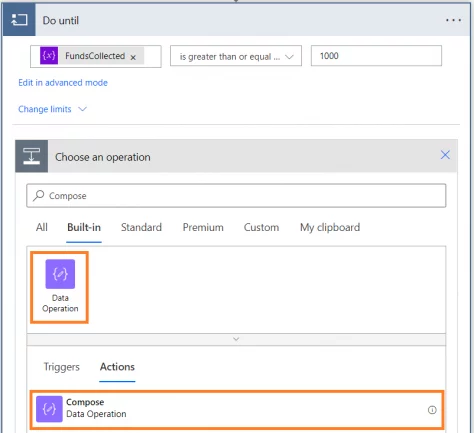
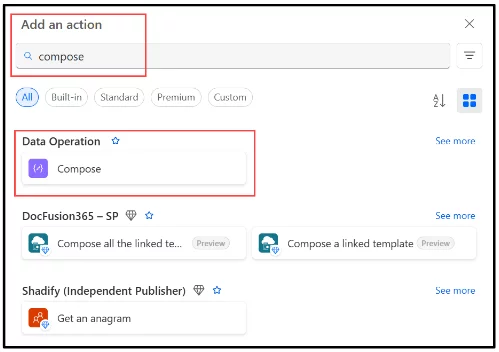
6. Click on Add an action inside the Do Until loop.
7. Click on Data Operation under Built-In tab. Select Compose action.
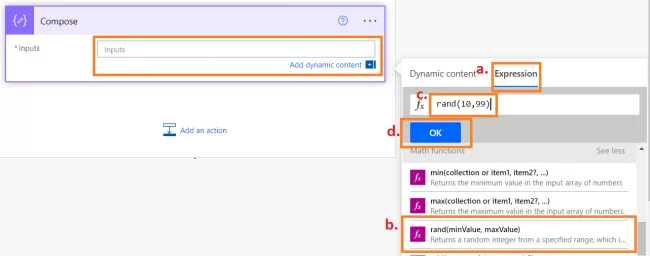
8. We will use a maths function rand() to generate random numbers which will serve as bids for our example auction.
The Rand function returns a random integer between the specified minValue and specified maxValue.
-
- Click on Add Dynamic Content, click on Expression tab.
- Select rand(minValue, maxValue) under Math functions.
- For our example, let us enter 10 as minValue and 99 as maxValue which are the minimum and maximum bid amounts. So our expression looks like – rand(10,99).
- Click on OK.
9. Let’s give this action a meaningful name. Click on the ellipsis icon and click on Rename.
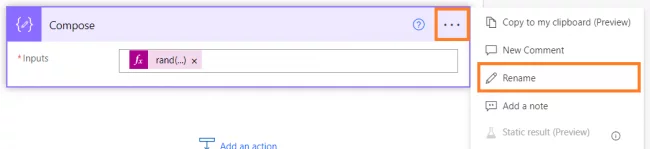
10. Enter “Generate Random Bid” as the name for this action.

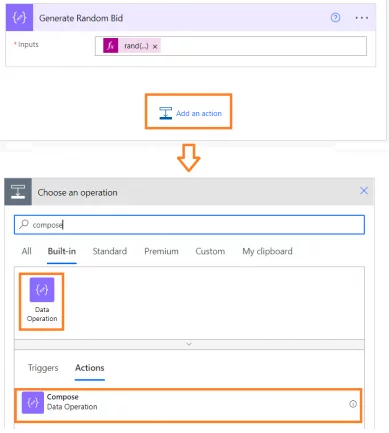
11. Next, we will add the random bid amount to “FundsCollected” variable. To do this, add another Compose action.
Click on Add an action. Select Compose under Data Operations.
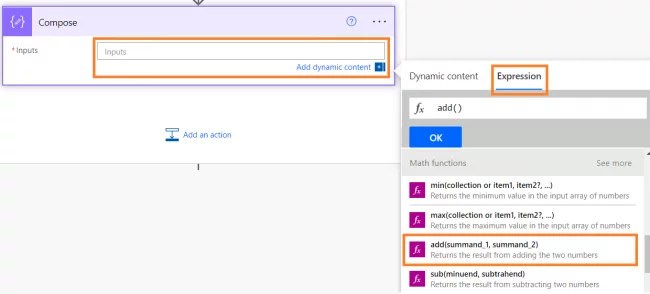
12. In this Compose action, we will add the random number generated in the previous step (Generate Random Bid) to the “FundsCollected” variable.
For this, we will make use of another math function called the add() function.
-
- Click on Add Dynamic Content, click on Expression tab.
- Select add(summand_1, summand_2) under Math functions.
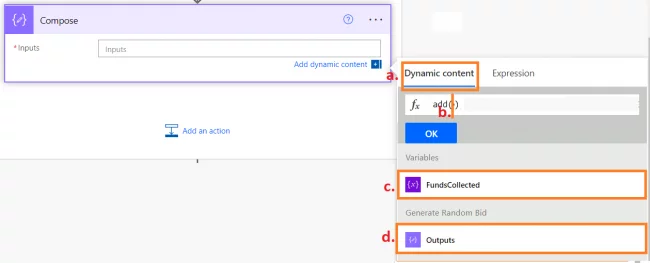
13. Now, follow below steps to add the parameters
-
- Click on Dynamic content.
- Place the cursor inside brackets of the add() function.
- Click on “FundsCollected” parameter and insert the symbol “,” (Comma).
- Click on Outputs of “Generate Random Bid”.
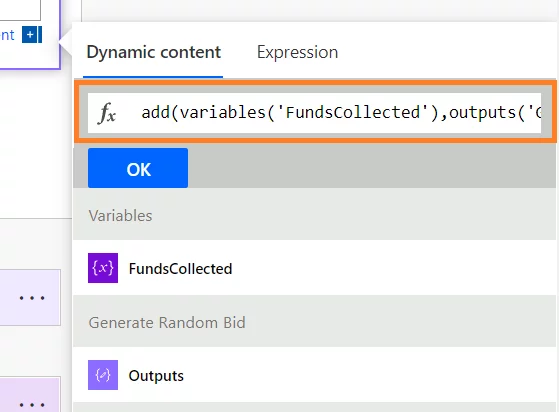
The formula should look like this – add(variables(‘FundsCollected’),outputs(‘Generate_Random_Bid’))
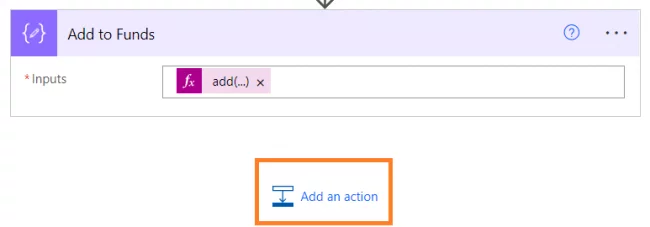
14. Rename this action as “Add to Funds” by clicking on ellipsis icon and then clicking on Rename.

15. Next, we will set this value to “FundsCollected” variable. Click on Add an action.
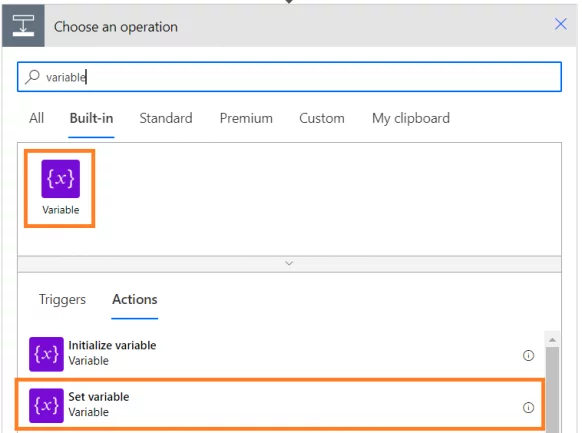
16. Click on Variable under Built-in tab and select Set Variable action.
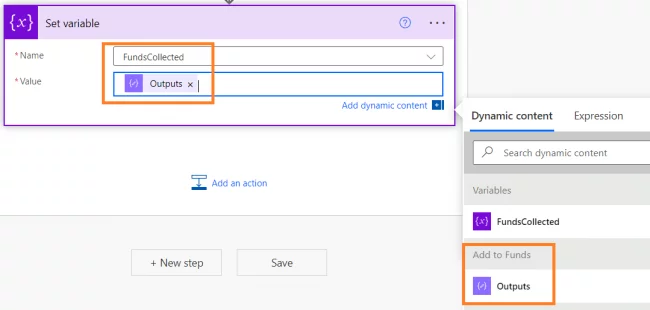
17. Select the variable “FundsCollected” for Name and select Outputs of “Add to Funds” from Dynamic Content as the value.
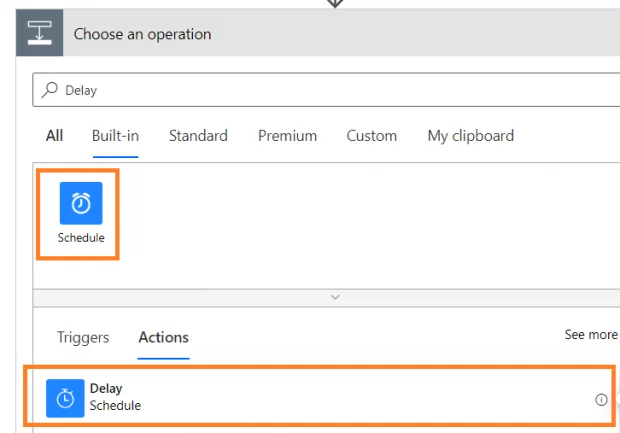
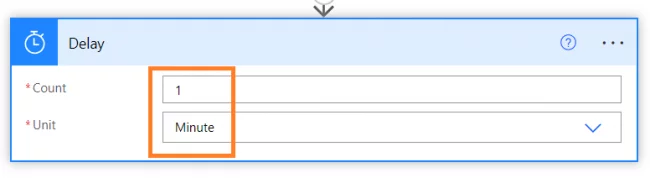
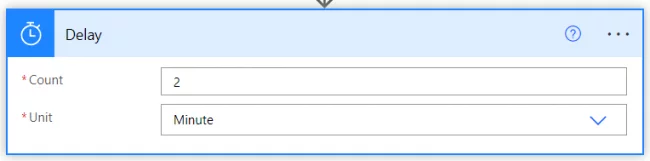
18. We will add a Delay action to give a time interval between each loop.
The Delay action sets how long an action should be delayed once the flow is triggered. In ther words, it will pause the execution of the flow for a specified interval.
19. Enter Count as “1” and select Unit as “Minute”. By adding this action, we are trying to simulate an auction scenario where an item is getting sold every minute.
20. Click on Save.

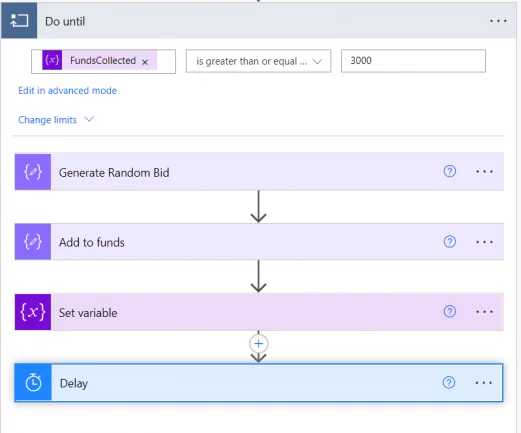
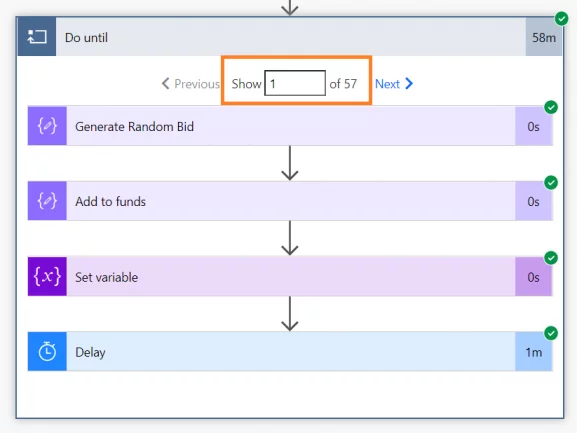
21. So, our completed Do Until loop looks like this.
| ACTION | DESCRIPTION |
|---|---|
| Generate Random Bid | Generate price of item sold in the current iteration |
| Add to funds | Add the price earned by selling the item to existing funds total |
| Set variable | Set the Funds Collected variable to the value found by addition the new funds to the previous total. |
To summarise our implementation, every iteration of the Do While loop represents the sale of an item in the auction.
The “Generate Random Bid” action simulates the auction process and provides a winning bid amount for that item.
Step 3A: Testing A Do Until Loop
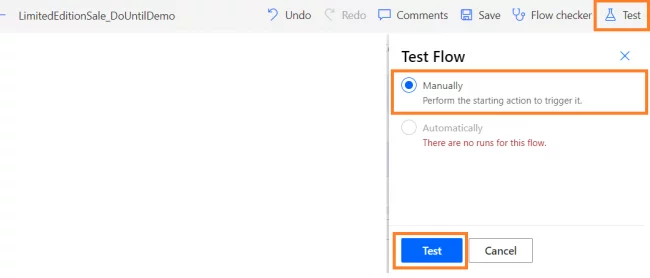
1. Click on Test. Select Manually and click on Test button.
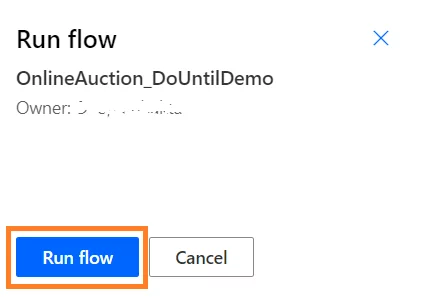
2. Click on Run Flow.
3. Click on Done.

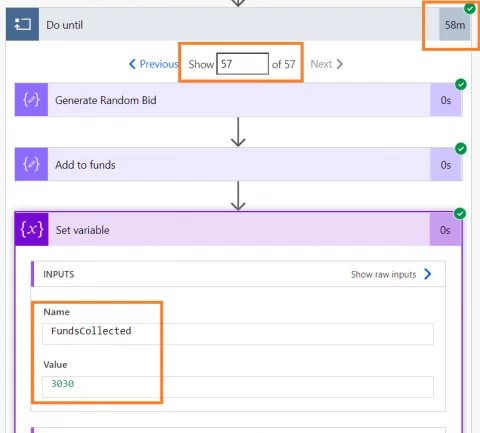
4. After the test run completes, we can expand the Do Until action to check the iterations. As we can see, there were 57 iterations of the Do Until loop. This means that we have sold 57 items.
NOTE: The number of iterations will be different every time we run this Power Automate flow, as it depends on the random number generated and number of items sold (iterations) to reach a total of $3,000.
5. At the end of the 57th iteration, the value of “FundsCollected” is $3,030.
The loop stops execution at this point as the condition evaluates to true.
Also, notice that the execution time of the Do Until loop is 58 minutes.
Step 3B: Testing A Do Until Loop – Change of limits
The Do Until loop has certain limitations on the maximum number of times the loop executes and the maximum time duration for which the loop can run.
Let’s now understand how these limitations work by modifying our example.
Assume that we have 40 items for sale in the auction.
This auction aims to raise $3,000, but we are happy with however much we can collect by selling all of our items.
The Do Until loop can be modified to accommodate this requirement by using Limits.
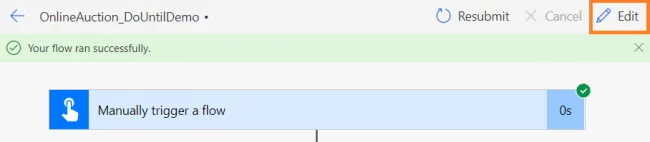
1. Click on Edit.
2. Click on Change limits. Change the count from 60 (Default) to 40.
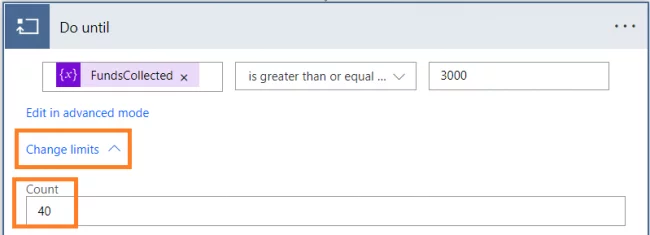
Count is the maximum number of iterations we want the Do Until loop to execute if the condition is not met. Each time an iteration is carried out the counter value increases by one.
The maximum value that can be set for this limit is 5,000.
3. Save and test the flow again.
4. After the test run completes, we can see that there were only 40 iterations even though the value of FundsCollected variable is only $2,172, as we have sold all of our items.
The loop has stopped execution when the count limit was reached.

We can conclude that the execution of Do Until loop stops when the condition is met or the Count limit is reached.
Now consider another scenario where we are allowed to run the Online Auction for only 30 minutes but we can sell as many items and raise as much money as possible.
1. Click on Edit.

2. Click on Change limits. Change Timeout from PT1H to PT30M. This means that we want the Do Until loop to run only for 30 minutes.
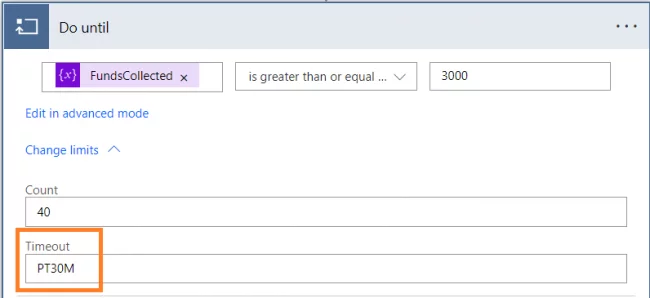
The timeout value represents the duration we want the Do Until loop to run fo, if the condition is not met.
It uses the ISO8601 format.
| P | Period |
| T | Time |
| D | Days |
| H | Hours |
| M | Month/ When used with T, it represents Minutes |
| S | Seconds |
Examples: PT1H – represents 1 Hour (Default)
PT1M – represents 1 Minute
P2M – represents 2 Months
P5D – represents 5 Days
P30D – represents 30 Days (Maximum limit)
P5DT10H – represents 5 Days and 10 Hours
3. Let us also change the delay to 2 minutes for this scenario, which means an item gets sold every 2 minutes.
4. Save and test the flow again.
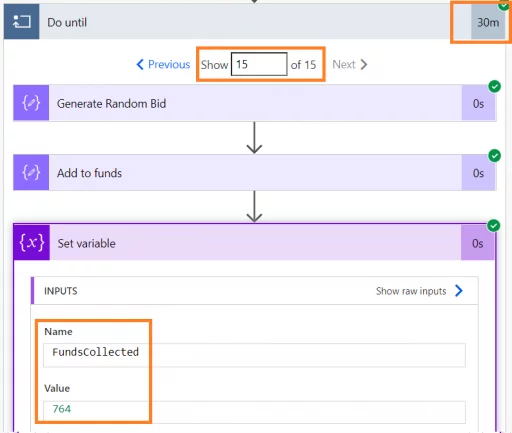
5. After the test run completes this time, we can see that there have been only 15 iterations and that the duration of execution of the Do Until loop is 30 minutes.
The loop has stopped when the timeout limit is reached, i.e., after 30 minutes of execution, although “FundsCollected” is not $3,000 and we have not yet sold all our 40 items.
The Do Until loop stops execution when
-
- The condition evaluates to true; OR
- When the Count/Timeout limit is reached
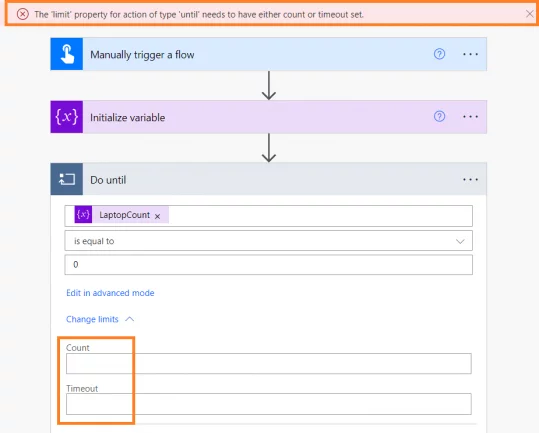
It is important to note that it is mandatory to set at least one limit otherwise Power Automate will throw an error message.
NOTE: The limits configured are applicable only for the execution of Do Until loop and not the entire flow.
Conclusion
Hopefully the above example clearly demonstrates how to use a Do Until loop in Power Automate.
The Do Until loop is useful in scenarios when a certain set of actions have to be repeated, while waiting for a certain value to change.
Remember, uou can use send email to email you when a do until loop is stopped so that you are aware.


- Facebook: https://www.facebook.com/profile.php?id=100066814899655
- X (Twitter): https://twitter.com/AcuityTraining
- LinkedIn: https://www.linkedin.com/company/acuity-training/