
All About Power Automate Triggers
Power Automate flows are used to automate or perform a set of actions with minimum human intervention.
There will always be a specific situation or condition that needs to be met before we want the flow to start its execution.
They are the opposite of a Do Until loop.
Setting up this condition is the first step in creating any flow and are called as Triggers.
Power Automate triggers are covered during our Power Automate training courses if you would like more detailed help with them.
What is a Trigger in Power Automate?
A trigger in Power Automate is an event which starts the execution of a flow.
It is mandatory to have a trigger as the first step of a flow, followed by at least one action.
There are lots of connectors available in Power Automate, each of which provides built-in triggers.
Example:
- Some of the triggers provided by Office 365 Outlook connector are
a. When a new email arrives (V3) – Flow execution starts when a new email arrives.
b. When a new event is created (V3) – Flow execution starts when an event is created in the calendar. - Some of the triggers provided by SharePoint connector are
a. When a new item is created – Flow execution starts when a new item is created in the list.
b. When an item is deleted – Flow execution starts when an item is deleted.
The above examples are a small subset of triggers provided by the respective connectors.
The Three Different Types of Triggers
There are three different types of flows which can be created based on the type of trigger.
- Automatic Triggers:
These triggers trigger automatic cloud flows. are triggered automatically when an event occurs.
Example: When a new file is uploaded to a specific location in OneDrive. - Manual Triggers:
These triggers are used to trigger Instant Cloud Flows. These are the flows which are triggered manually with the click of a button or from a mobile phone.
Example: Sending an email on clicking a submit button in Power App. - Scheduled Triggers:
These triggers are used to trigger Scheduled Cloud Flows. These flows are triggered according to a pre-set schedule. We can configure the flow to run at a specific time on a specific day and also set the frequency of the flow execution.
Example: Send birthday wishes.
A Simple Example of a Trigger in Action
We will now try to understand more about triggers with a simple example for each type.
1. Creating an Automatically Triggered Flow in Power Automate
Let’s look a simple scenario of employee expense reimbursement in an organization.
We enter the expense details in a SharePoint list and integrate it with Power Automate to send out notification emails to the Accounts department.
We create an Automated cloud flow because we want the Accounts team to be notified whenever there is a request for reimbursement. So, in this case, the expense claim request is the trigger.
- Let us first create a list in SharePoint called ExpenseClaim to submit an expense request.
Steps on how to create a SharePoint list can be found here – https://www.acuitytraining.co.uk/news-tips/sharepoint-lists/
The expense request list consists of the following columns
a. Title – Title for the request.
b. Amount – Expense amount.
c. Expense type – It can be one of the following – Travel, Food, Accommodation.
d. Approval Status – Status can be one of the below values:
-
- Submitted – When a new request is submitted by the employee
- Approved – When the manager approves the request. It is then sent to the Accounts team for releasing the payment.
- Rejected – When the request is rejected by the manager.
- Closed – When the payment is released by the accounts team.

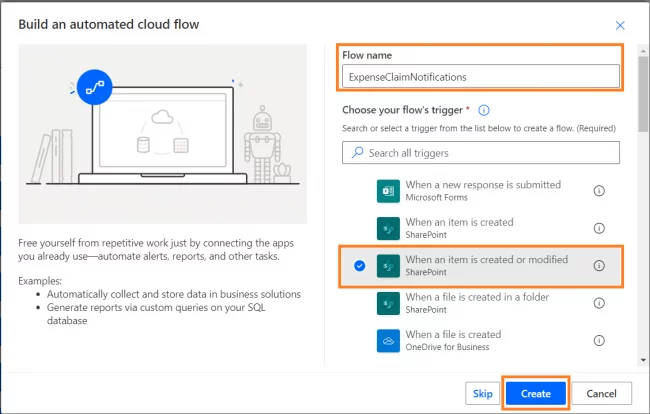
- Next, create an Automated Cloud flow. Click on New flow and select Automated Cloud flow.

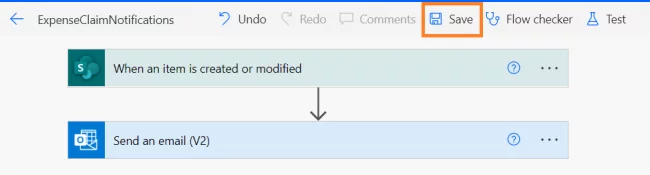
- Enter the Flow Name, select When an item is created or modified of SharePoint connector. Click on Create.
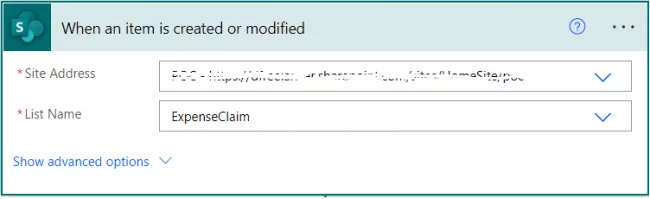
- In the trigger, select the Site Address which contains the ExpenseClaim list and the ListName.
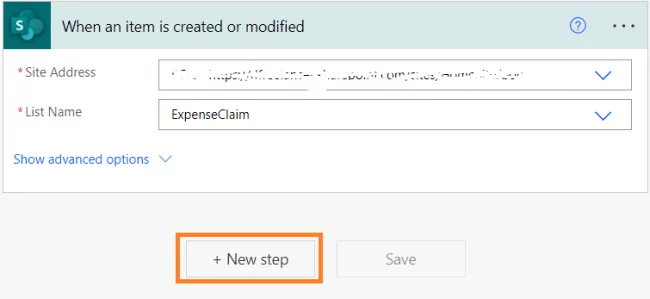
- Click on New step.
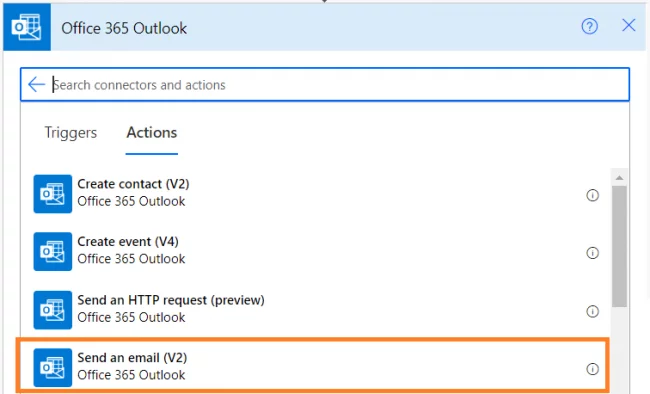
- Click on Office 365 Outlook under the Standard tab.
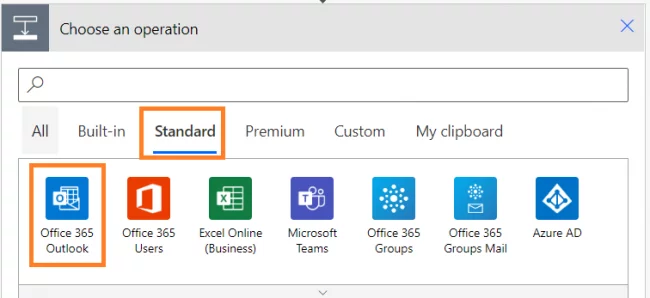
- Select Send an email (V2) under Actions tab.
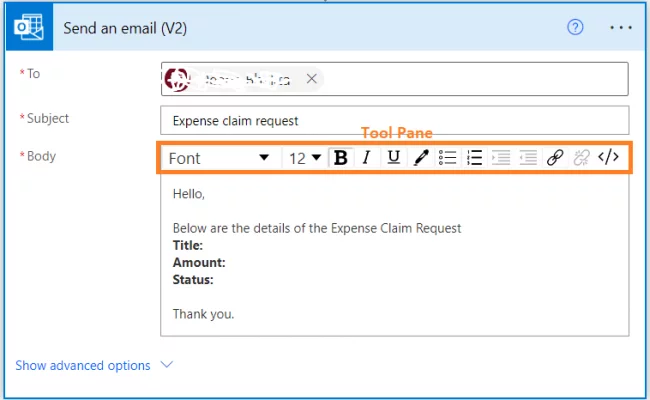
- Enter the Email Address to whom the notifications have to be sent in the To field. Enter the subject as Expense Claim Request. In the body, enter text as shown below. Formatting can be done using the tool pane.
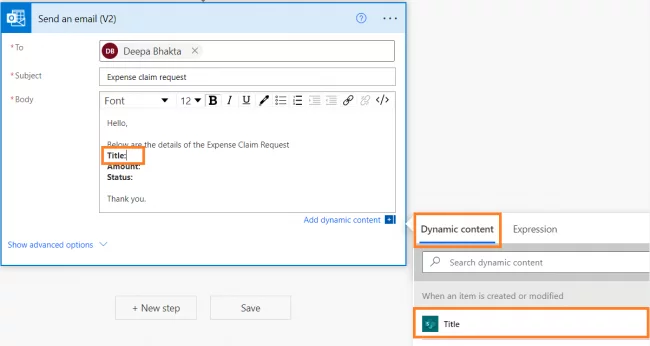
- Now let us assign dynamic values from the SharePoint item next to Title, Amount and Status.
Place cursor after Title:. Select Title under Dynamic Content as shown below.
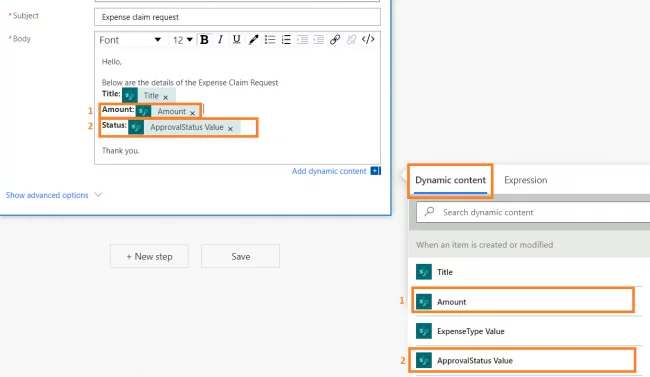
Similarly, select Amount and Approval Status Value.
- Click on Save.
Testing the flow
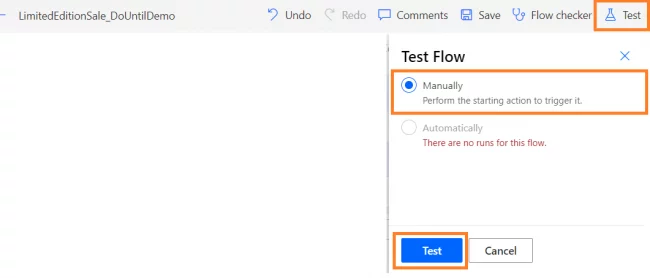
Let us test the flow now.
- Click on Test. Select Manually and click on Test button.
- Let us create a new expense request in the list as this is our trigger. Click on New in the ExpenseClaim list in SharePoint.

- Enter Title, ExpenseType, Amount and ApprovalStatus as shown below. Click on Save.
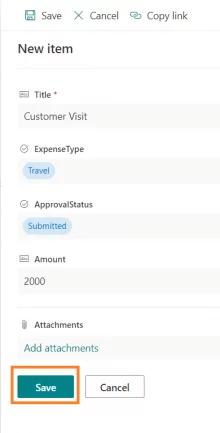
- As soon as you click on Save, the flow starts running.

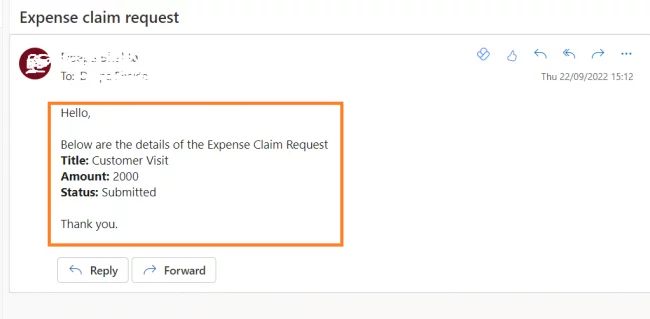
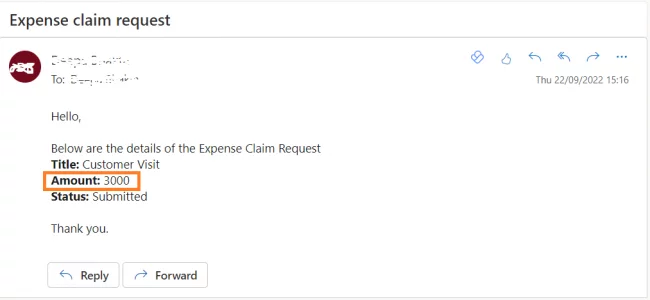
- The recipient will receive an email as shown below with the details of the Expense claim request created.
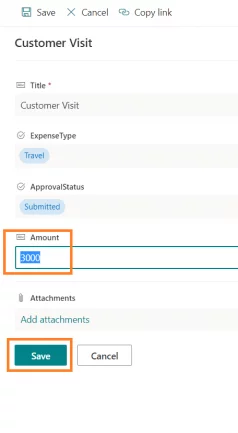
- Let us modify the Amount and see what happens. Navigate to the list, click on the radio button next to the item and click on Edit.
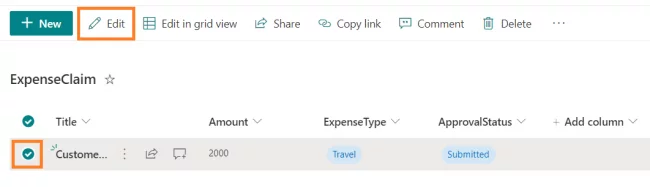
- Update the Amount value and click on Save.
- Within a few minutes, the recipient will receive another email with the updated details.
This way, whenever the item is modified, the flow is triggered automatically and the recipient receives an email with the updated details.
Trigger Settings
Assume that we want the email notification to be sent only when the status changes to Approved as the Accounts Team can reimburse the expense amount only after it is approved by the Manager. Let’s see how we can configure the trigger to accommodate this change.
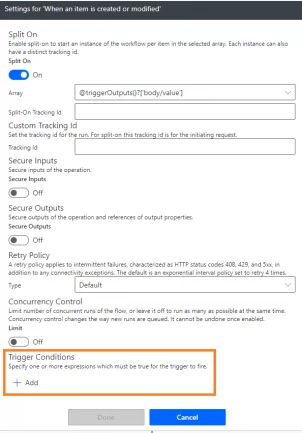
- Open the flow in edit mode. Click on the ellipsis icon and click on Settings.
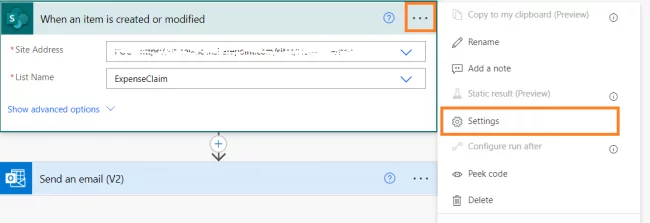
- You can see that there many options available.
Note: Every trigger of every connector will have different setting options, which are applicable to that specific trigger. It could be different from the options seen here depending on the selected trigger.Let us now add a condition. Click on Add under Trigger Conditions.
- Enter the below formula –
@equals(triggerOutputs()?[‘body/ApprovalStatus/Value’], ‘Approved’).Click on Done.
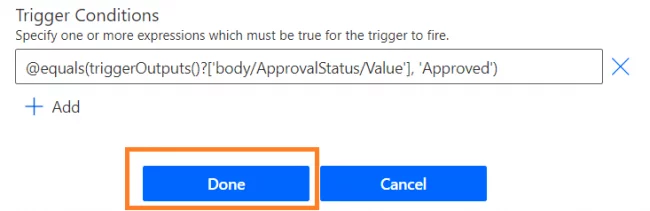
The formula verifies if the ApprovalStatus is equal to Approved. The flow will be triggered only if this condition evaluates to true.
- To test if this additional setting works, let us modify the Amount once again. Navigate to the list and edit the Amount.

- The recipient will not receive any email when the item is modified.
- Let us now change the ApprovalStatus to Approved. Navigate to the list item and update the ApprovalStatus to Approved. Click on Save.
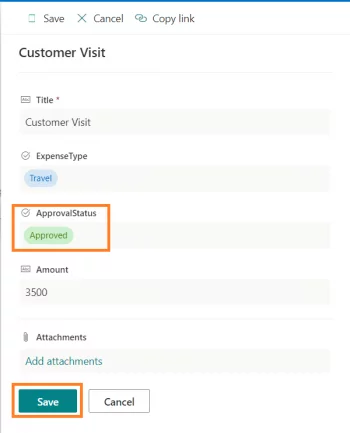
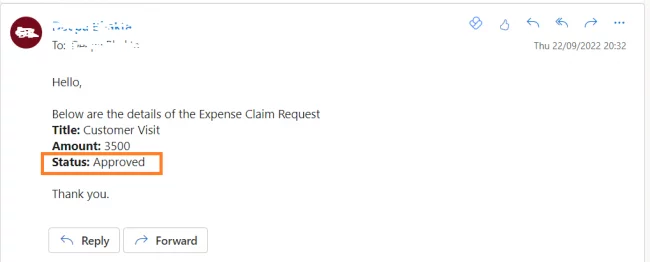
- Now, the recipient receives an email. So, the Accounts team will receive email notifications only when they have to take an action i.e.; when the request is first approved by the Manager.
To conclude, even though any update to the item should have triggered the flow, it does not. This is because we had configured an additional trigger setting.
The flow triggers only when this additional condition also evaluates to true.
2. Creating an Instant or Manually Triggered Flow in Power Automate
Lets now look at the other types of trigger.
In this example, we will use Power Automate flow to capture user messages or responses from a Teams chat and store it in SharePoint.
- First, we will create a simple SharePoint list called Responses with 2 columns – Title and Response. We will store the user’s name in the Title column and their response in the Response column.

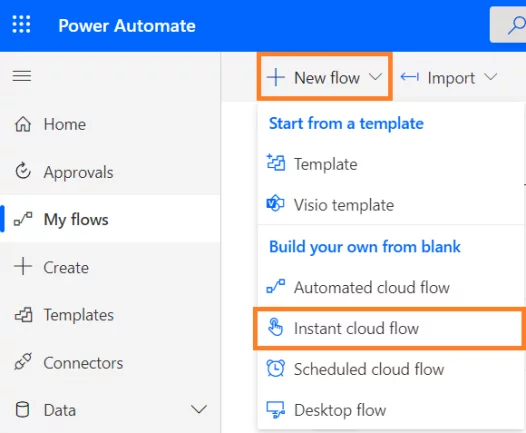
- Next, create an Instant Cloud Flow – Click on Instant Cloud Flow under New Flow.
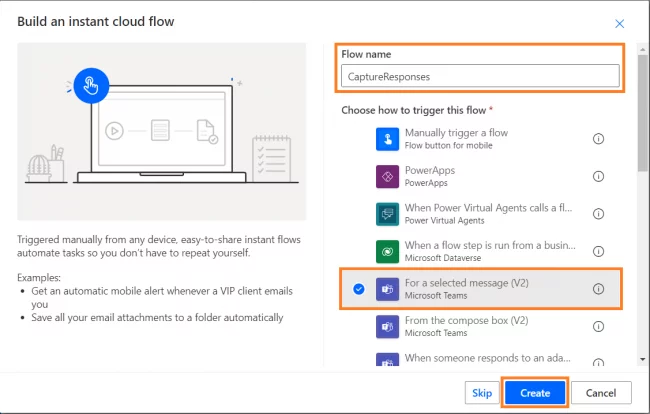
- Enter the Flow Name, select For a selected message (V2), click on Create.
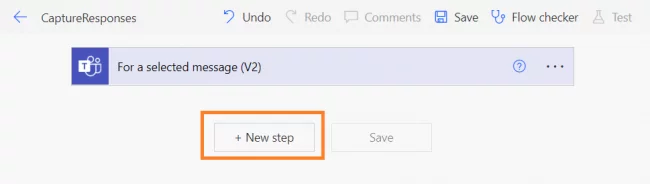
- Click on New step.
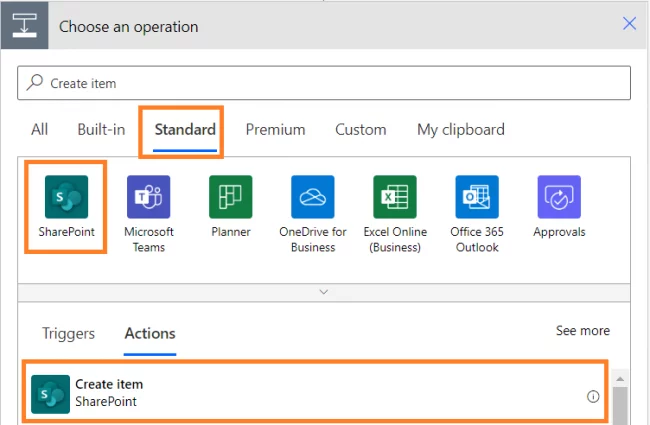
- Click on Sharepoint under the Standard tab. Click on Create Item under Actions tab.
- Select Site Address which contains the Responses list and select the List Name.
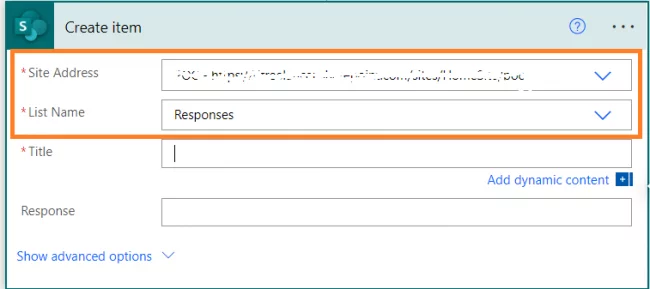
- For Title, let us store the name of the user who sent the message. Click on Dynamic Content and select Sender User Display Name.

- Similarly, for the Response field, select Message Content under Dynamic Content.
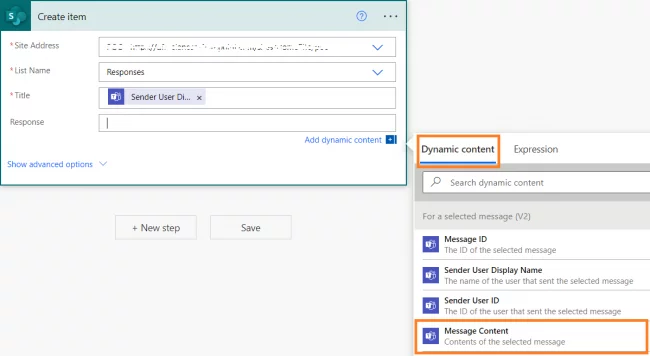
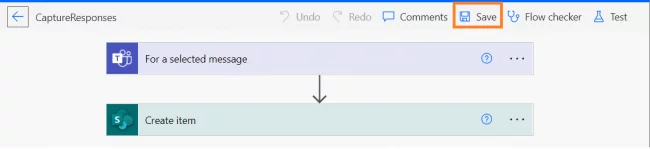
- Click on Save.
Testing the flow
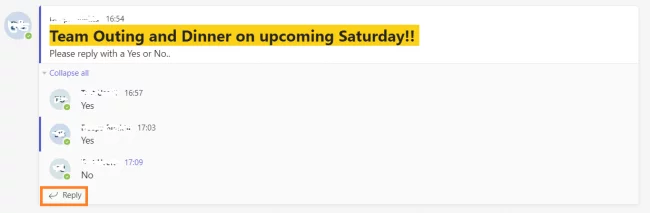
Now that our flow is ready, let us open Teams. Consider that we are planning for a team outing and would like to know how many are willing to join.
- Send a message as shown below.
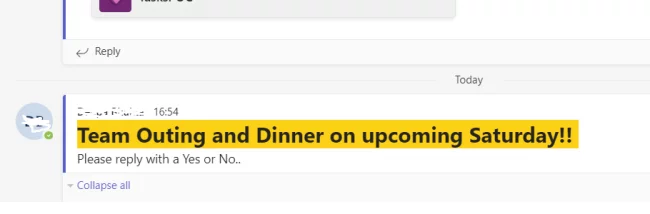
- Add a few Yes/ No replies to the post by clicking on Reply.
- For any one reply, click on ellipsis icon and then More Actions.
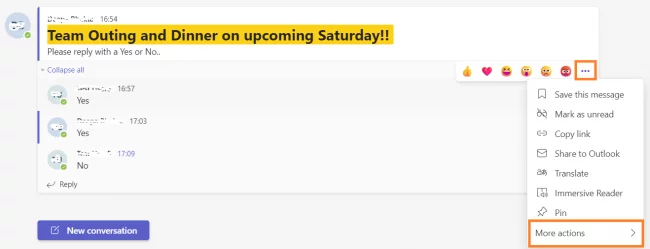
- We can see that the name of Power Automate flow we created CaptureResponses is visible. Click on the flow name. Here, by clicking on the flow name, we are manually triggering the flow.

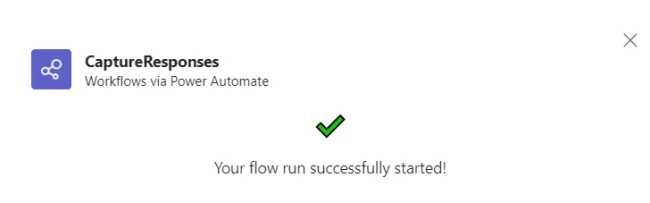
- The following message is displayed.
- Let us now check the SharePoint list Responses. The user’s name and the response are successfully captured in the list.

In this way, we can capture all the users’ responses from Teams Chat to SharePoint list by manually triggering the flow on each user response.
3. Creating a Scheduled Flow in Power Automate
We will move on to the next type of flow – the scheduled flow. For this, let us send out a simple Hello email from Power Automate every 1 hour just to demonstrate how we can configure a scheduled flow.
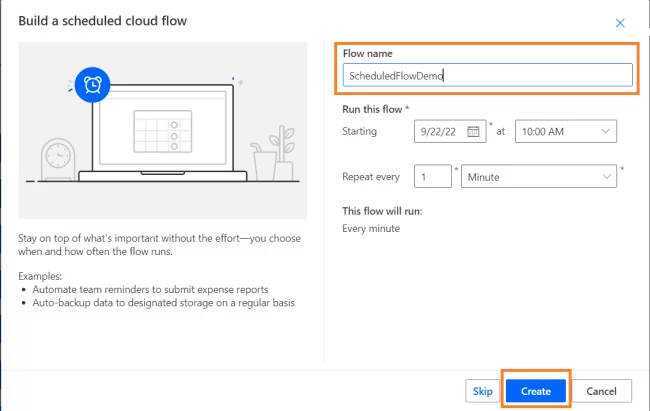
- Click on Scheduled Cloud Flow under New Flow.

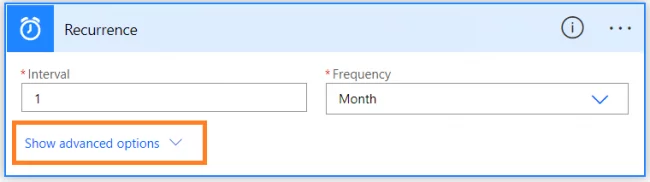
- Enter a flow name. Click on Create for the time being as we can configure the schedule in detail in the next screen.
- Under Recurrence, Click on Show Advanced Options.
- Change the frequency to Hour.
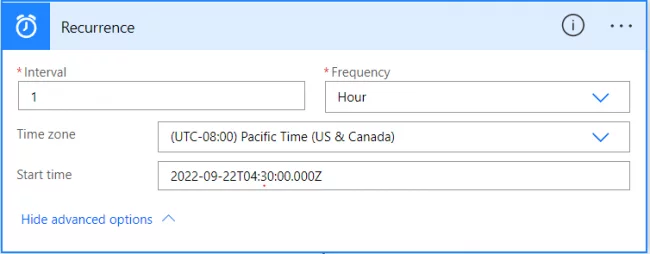
Select the appropriate TimeZone. If we want the flow to be scheduled to run after a specific day and time, we can set the value in StartTime.
Note: We can also set other frequencies such as Day, Week, Month and specify which days in particular we want the flow to run. Additionally, we can also configure a specific time in terms of hours and minutes.
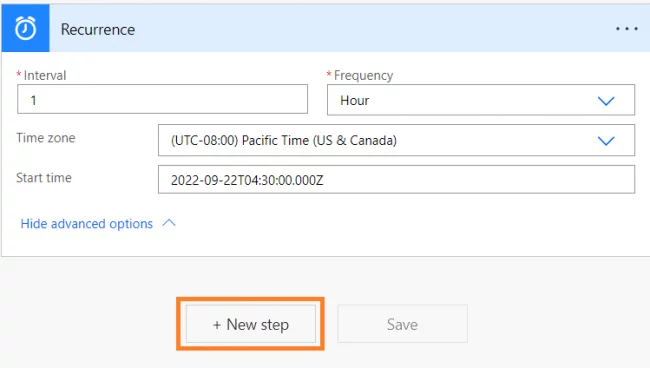
- Next, we will add an action to send email. Click on New Step.
- Click on Office 365 Outlook under the Standard tab.
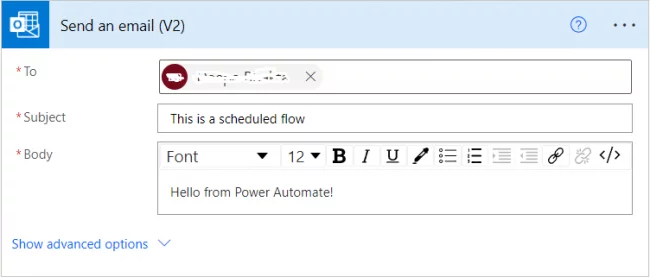
- Select Send an email (V2) under Actions tab.

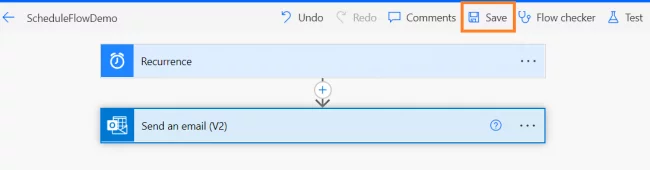
- Enter To field, Subject and Body as shown below.
- Click on Save.
- The recipient will start receiving emails every hour as scheduled.

In this case, we can conclude that the flows are triggered based on a schedule that we have configured.
Troubleshooting Triggers in Power Automate
This section describes some of the commonly faced issues and how we can troubleshoot them.
- Flow did not work as expected – Power Automate provides details of the flows which ran in the past 28 days in the 28-Day History section. Click on All Runs.
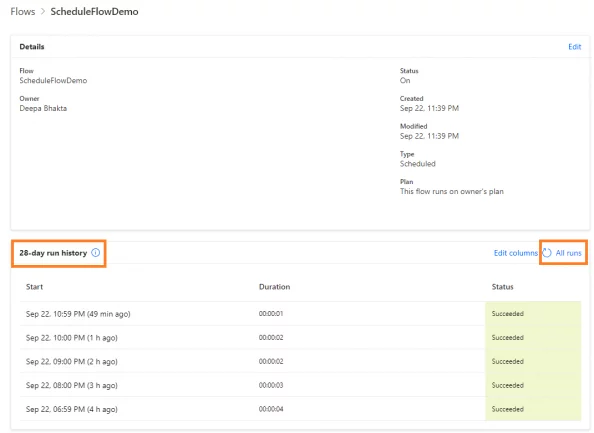
By default, the Start time, duration for which the flow ran and the status of whether the flow run was successful or not is displayed. Here we can click on individual flow run and verify step by step if the outcome of every action is as expected.
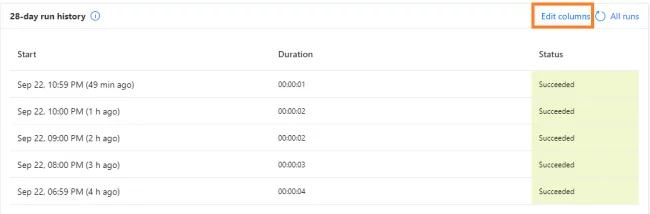
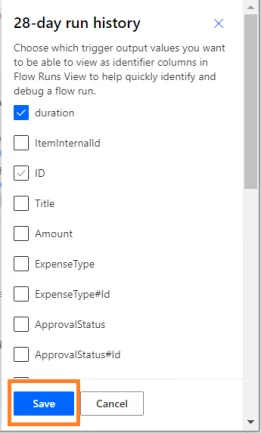
We can also add additional columns by clicking on the Edit Columns link and then selecting the required columns. Finally, click on Save.
Alternately, we can also verify the complete sequence of actions by testing it manually.
a. In the edit flow screen, click on Test. Select Manually and click on Test so that the flow execution starts.

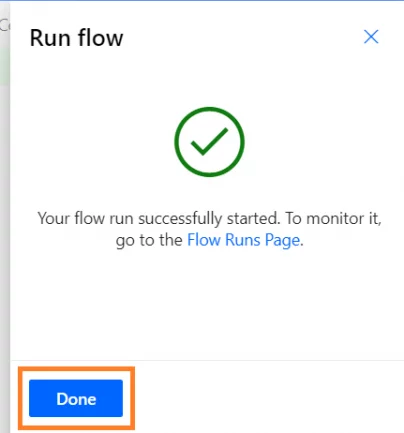
b. If prompted, for example, in case of an instant flow, click on Run flow button and then click on Done.
c. In case of automatically triggered flows, perform the trigger action to start the manual testing after step a.
- Broken connection – In scenarios such as after a password change activity, some of the connections used in the flow might get broken.
a. To verify, click on Data, then click on Connections.
b. Check if any of the connections used in the failed flow are broken. If yes, click on Fix connection.
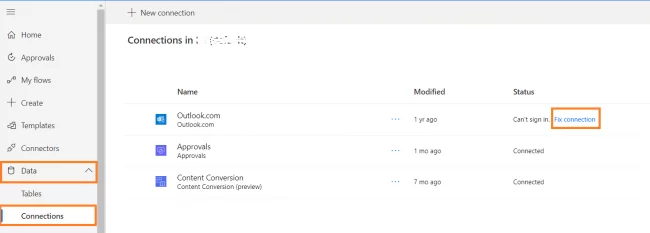
c. Enter credentials in the popup screen to fix the connection.
- Flow not getting triggered – Check if any additional trigger settings are configured. As we have seen in one of our examples, there might be additional condition(s) which are setup. Verify the condition and cross check if the trigger condition was met.
Conclusion
A trigger is the most important step when you are creating a Power Automate flow.
It is essential to correctly identify the type of trigger to be used based on your specific situation.
Hopefully from this article, the concept of Power Automate Triggers, different triggering options available and an understanding of when to use which trigger is clear.


- Facebook: https://www.facebook.com/profile.php?id=100066814899655
- X (Twitter): https://twitter.com/AcuityTraining
- LinkedIn: https://www.linkedin.com/company/acuity-training/