
Adobe Photoshop: How to Create a Double Exposure Effect
This Adobe Photoshop tutorial will show you how to create a double exposure effect. These techniques are covered in detail on our Adobe Photoshop courses if you are interested in learning more.
Starting Portrait
To start this off you will need to have a portrait picture. You are then going to want to make the background white if it isn’t already. You can do this by creating a copy of the layer then getting the dodge tool and using a feathered brush to draw over the background.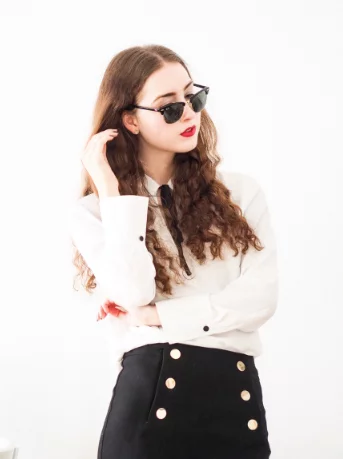
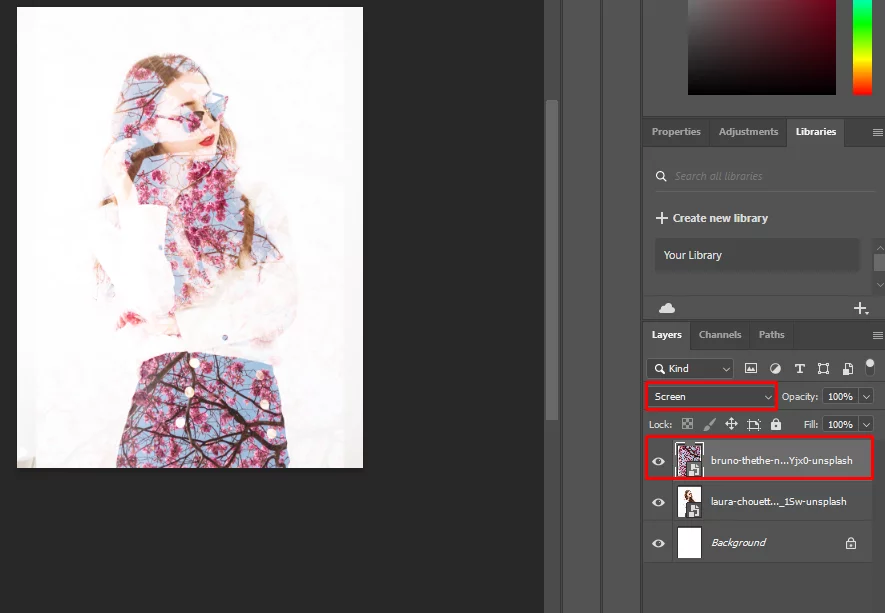
Next we are going to blend two images together to try and make it look like a double exposure. I am going to be using an image of a blossom tree but you can use whatever image you like.
Adding The Image On Top
You need to place this image on a layer above the portrait image and then you are going to want to set the transparency to screen.
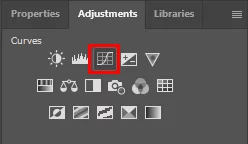
Next you are going to be adding a gradient map adjustment layer. To find this go to Layer – Adjustments then it will be near the bottom of the menu.
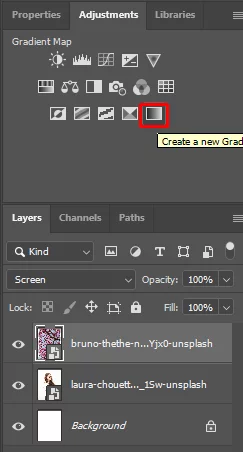
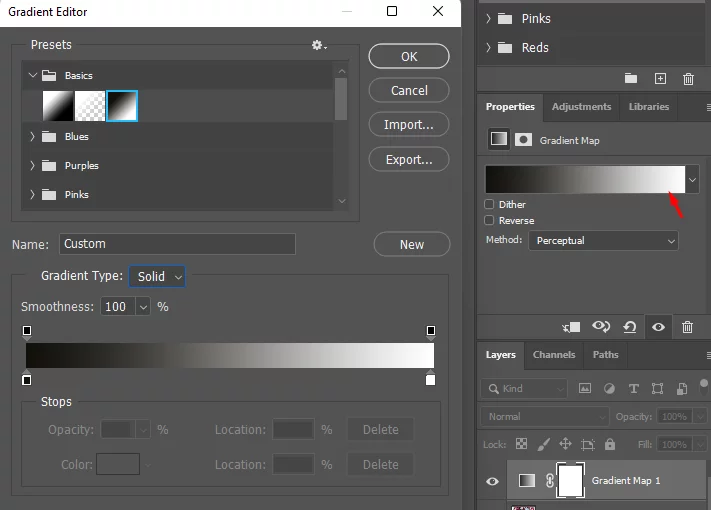
You are going to want to change a few things with the gradient map. To find the settings click the color of the gradient to pop out the gradient editor.
The Gradient Editor
The first thing are going to want to change is the type of colours you want, when you open up the colour menu in the properties you will see a small cog symbol on the right you will want to click that and it will bring a menu up go to the bottom of the menu and find Photographic toning and click. This will change the colours of gradient you can pick from I used one called Colbert Iron 2.
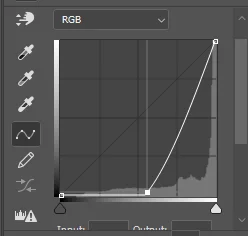
The next step is adding a curve adjustment layer, you find this in the same place as a gradient map. Apply the curve and change the curve to how ever you like I used it to make it darker. Have a play around with different effects. This is part of the fun of working with Adobe Photoshop.
The Curve Adjustment Layer
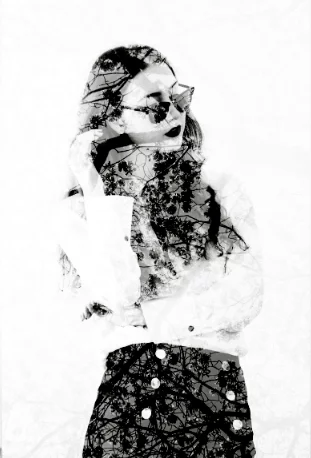
After you are happy with your adjustments you are going to want to add some colour. To do this I have just got that same picture of the blossom tree and put it in in the same way using a screen transparency. However, this time I did not add the gradient map. At this stage I also thought would be nice to be able to see some of her features so I selected the eraser tool and set the opacity to about 10% and after selecting the layer which has the first blossom tree on it and used it on the mouth, nose and eyes so you could slightly see them.
Learning to lock and manage the transparency of you image is one of the subjects covered during our Advanced Photoshop CC course. Mastering image manipulation is one of the most exciting and creative parts of learning to use Photoshop.
The power of Adobe Photoshop is that such a great result can be accomplished so quickly, but this is just the beginning, take a look at some of our other posts to find the real power of what a skilled Photoshop user can unlock when they truely master the Adobe suite.
Photo Credits: Portrait From Laura Chouette, Blosson by Bruno Thethe.


