Creating Ligatures & Colour Alternates [Adobe Fonts]
Contents
Before you start this tutorial, make sure you have the following as before:
FontSelf Extension for either Adobe Illustrator or Adobe Photoshop or BirdFont is you are using a free alternative.
As mentioned before, this is a four-part series of tutorials. Each piece is a stand-alone document, but it may make more sense if you start with part 1.
If you are looking for other articles in this series, you can find them here:
Part 1 – Using Glyph Alternates
Part 2 – Creating Your Own Glyph Alternatives
Part 4 – Using Adobe Fonts To Create A Greetings Card
These tutorials complement our in-person courses. You can explore our Photoshop training courses for a comprehensive learning experience.”
Ligatures
In essence, a Ligature is a glyph that is representative of 2 or more letters.
They can be functional, as in the case of an “f” and “i” where the dot of the “i” is attached to the horizontal line in the “f”, or they can be aesthetic.
Using most programs, creating a ligature can be complicated, but the FontSelf extension makes it quite straightforward.
Open a New document in Photoshop. Open the FontSelf Panel. If there is a font already loaded onto the Panel, click “New” to clear the Panel.
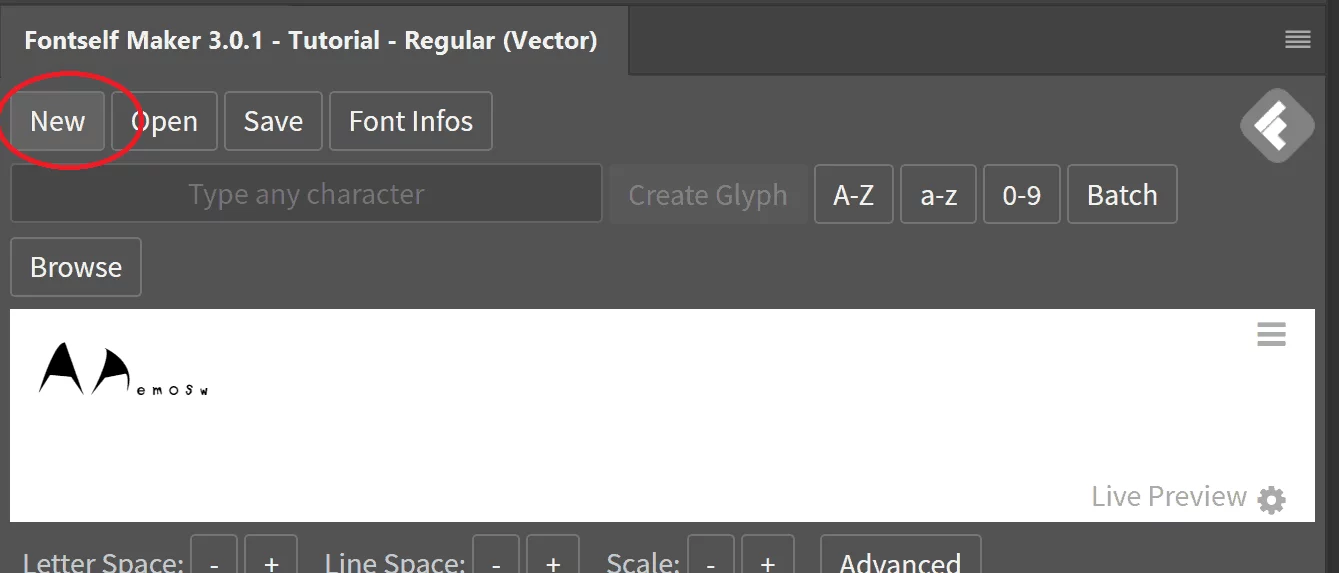
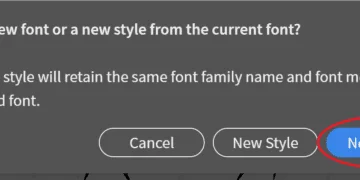
In the dialogue that subsequently appears, click the “New Font” option.
FontSelf categories Ligatures into 2 groups.
They can be defined either as Standard Ligatures, or Discretionary Ligatures. Discretionary Ligatures are more fancy, whereas Standard Ligatures are more technical.
We can create a Ligature the same way we create any other glyph for FontSelf: with the brush or pen tool.
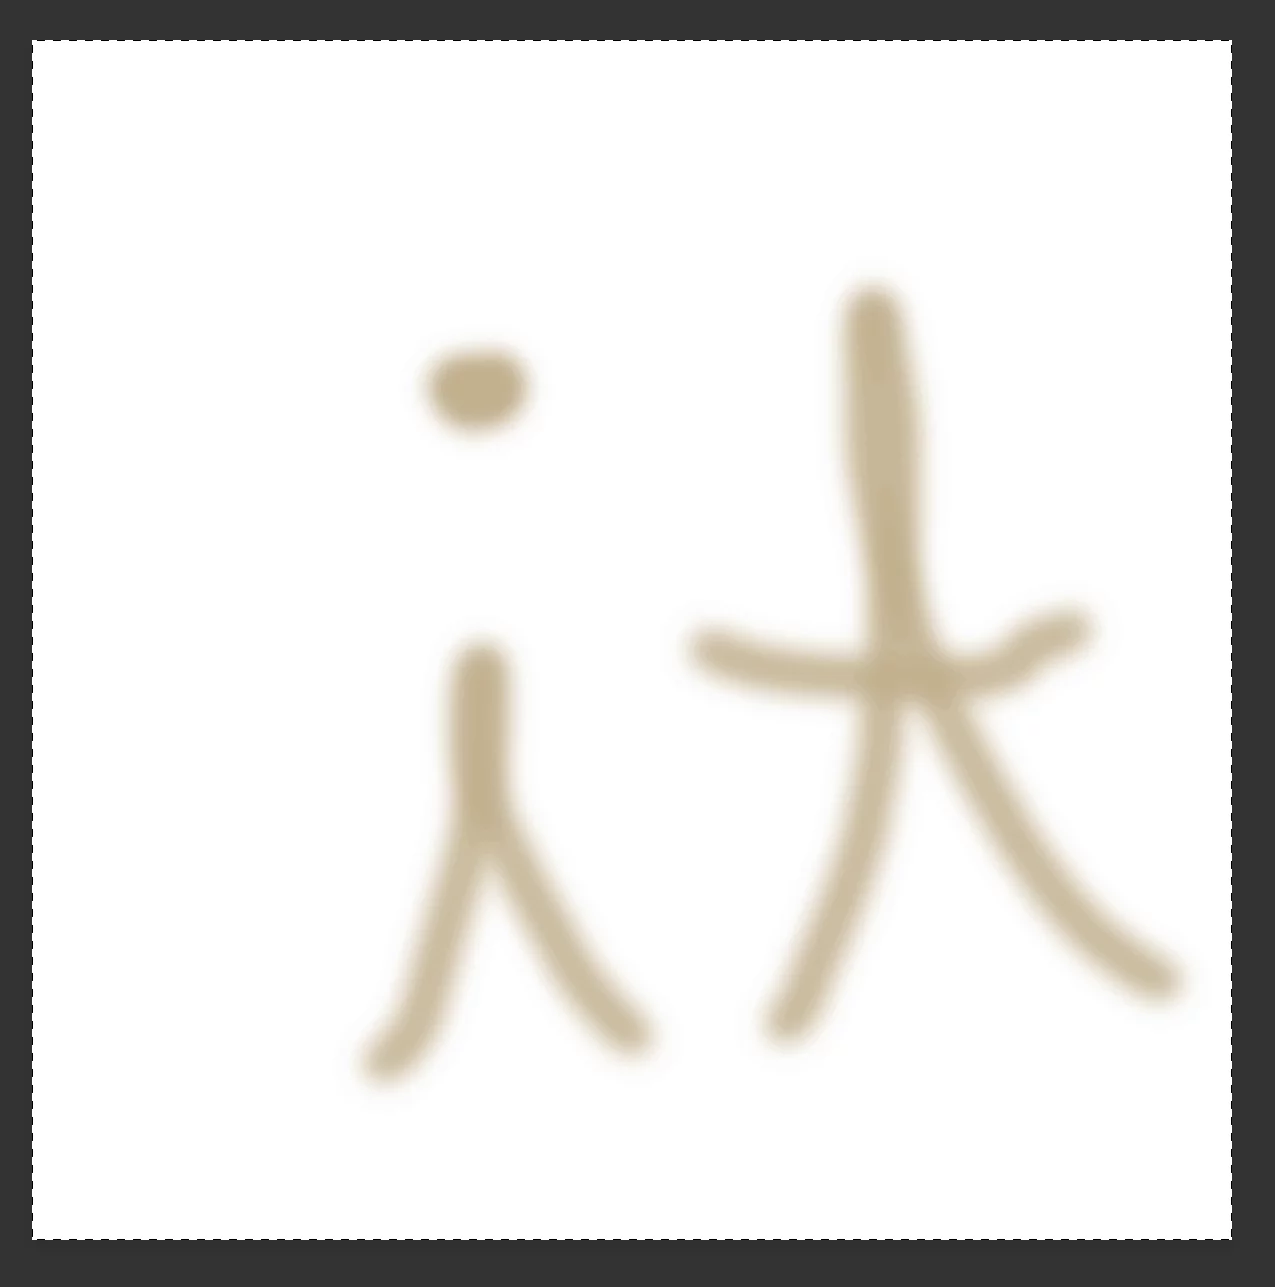
Let’s say we have a cursive font. The “i” is an ordinary cursive “i”, the “t” is an ordinary cursive “t”.
But maybe we want them to look different when a “t” follows an i”.
Before we can make a ligature, FontSelf requires that the individual letters exist as their own glyphs prior.
Using the Brush Tool (B), create cursive “i” and “t” glyphs as shown below. Add them to our new font and assign them to their letters.
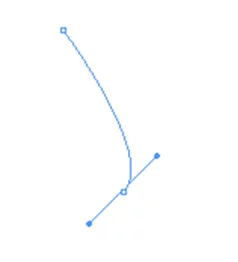
Draw a figure similar to the one presented below. You might prefer to use Illustrator for this, as it smooths lines after they are drawn.

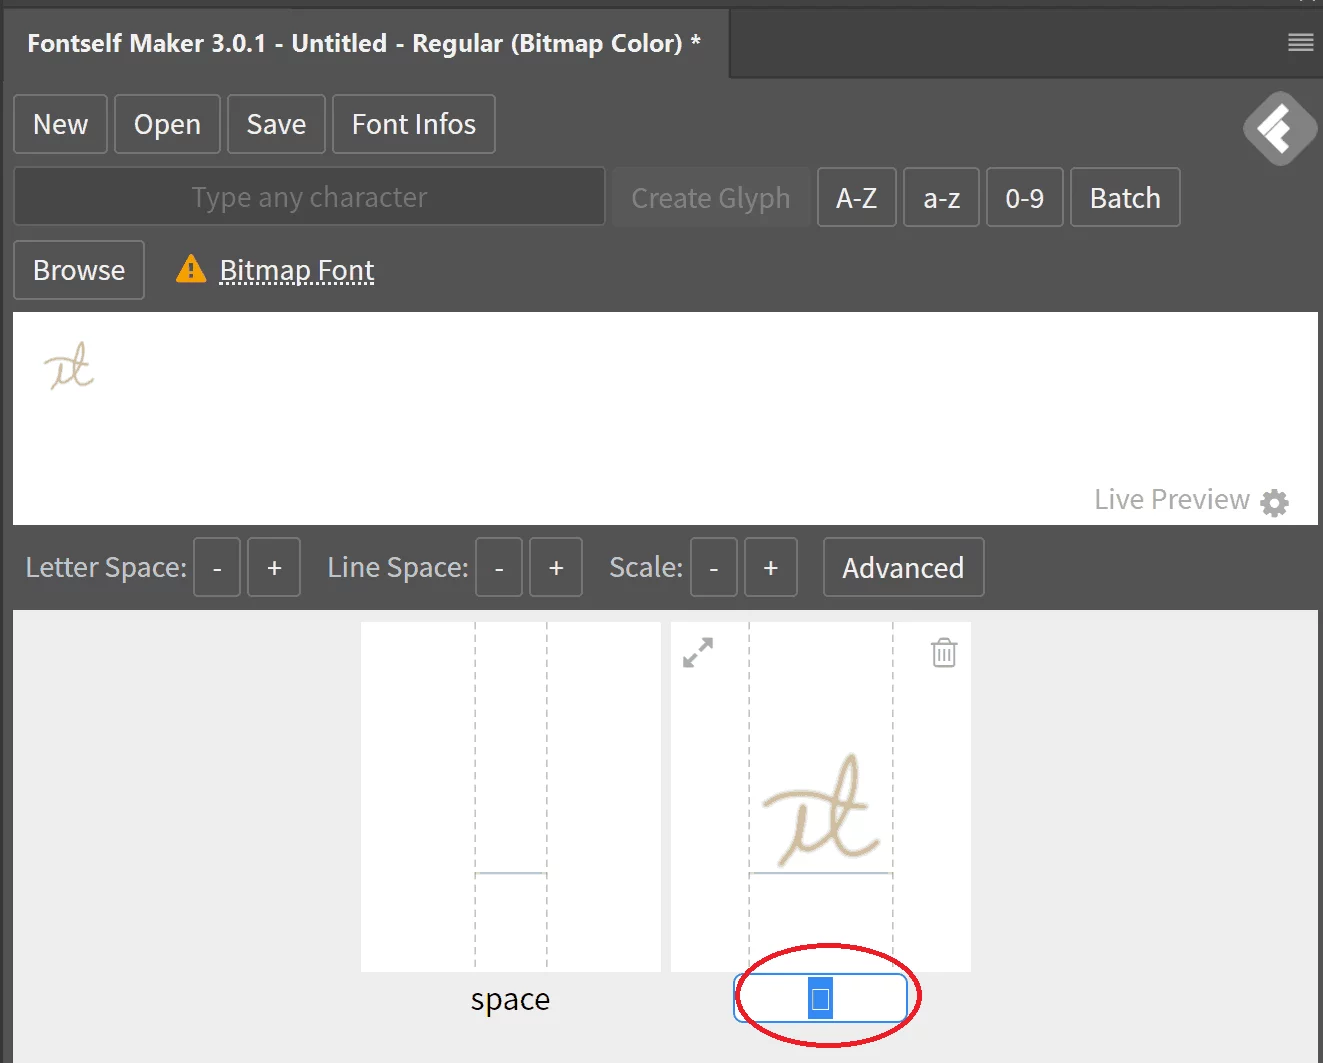
Ctrl-Click and Drag this glyph to the FontSelf Panel. Select the Square underneath the glyph in the Panel, and type “it”, and then hit Enter.
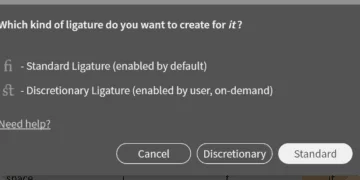
A dialogue will appear asking you if this is a Standard or Discretionary Ligature. We know this is Standard Ligature because its purpose isn’t anything out of the ordinary. Click “Standard”.
Now make glyphs for a cursive “y”, “e”, and “s”. Drag them to the Panel and assign them to their characters.
After you’ve done that, draw the whole word “yes”, with an extended “y”, similar to Figure 7.

Drag this to the Panel and make it a ligature of the word “yes”. When the dialogue asks you what type of Ligature it is, pick Discretionary. Since the extended “y” has no functional use, it is considered Discretionary.
These 2 categories aren’t the only kinds of Ligatures, but they are the only 2 FontSelf provides.
Feel free to save these as a font, perhaps adding more ligatures before you do so.
After installing the font you’ll notice that if you type an “i” or a “t” they appear as normal, but if you type them consecutively a whole new glyph replaces the 2 individual ones.
Ligatures are becoming more and more commonplace in the fonts we use. People these days are very into customization and specificity.
That being said, Ligatures are something that can truly bring a font to life and give it a refreshing sense of variety.
Colour Alternates
Colour Alternates are, as the name implies, Glyph Alternates that differentiate in colour as opposed to shape.
They’re great for creating posters and brochures with real impact in Photoshop.
Bear in mind that if you are not too good with colours, it would be best to use the Adobe Color Wheel (https://color.adobe.com/).
We are going to create Colour Alternates to some of the glyphs we’ve made in the Ligatures portion of the tutorial.
When it comes to colour fonts, the process can usually be pretty complicated, but with Fontself, that’s not really an issue.
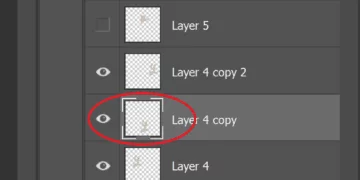
Go to the “y” Layer in our document. Duplicate (Ctrl + J) the Layer a few times. Take each “y” and make them different colours.
The best way to do this is by Ctrl-Clicking on the layer thumbnails (circled in the image below 8) and using the Fill (F) tool to fill the selection with the foreground colour.
Change the foreground colour with every fill.
Once you have 3 or 4 “y’s”, drag them to the FontSelf Panel and assign them as “y”. The non-default colour ones need to be defined as Alternates of “y”
You can do alternate colours for any other glyphs you feel like. After you’ve finished, save your font, install it, and try it out.
Visibility of Alternates, Ligatures, and Color Alternates
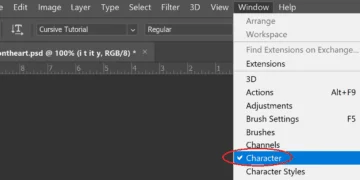
In Photoshop to Window > Character, and the Character Panel opens up.
The Character Panel includes options for turning off and on the visibility of Standard Ligatures, Discretionary Ligatures, different types of alternates, and other Open-Type Features
To do the same in Adobe Illustrator, Go to Window > Type > Open-Type.
Microsoft Office programs feature a similar option in their “Font” Window.
Google supports Open-Type Features on their Google Drive apps
FAQ:
Here we will go over a number of commonly asked questions about Adobe Fonts and FontSelf.
I tried to use fonts I made with FontSelf in another program and I don’t see Alternates.
Not every program supports Ligatures and/or Colour Alternates. There are ways to code fonts so that they will cycle between Alternates, but that’s not currently possible through FontSelf.