
3 Quick Ways To Recover Unsaved Files [Excel 2024]
We’ve all been there – working on an Excel file, only to have it disappear after a crash!
Panic sets in, and you start to worry everything is gone.
But you still have options.
These methods are very important to keep in mind when using VBA in Excel – sadly, it’s well known for causing crashes!
1 – Auto-Recover
Excel, by default, has an auto-recover feature.
This feature saves a copy of the Excel file you are working on at set intervals.
It’s enabled by default – so this is the first place to look!
Launch a new Excel spreadsheet. Go to the ‘File’ tab from the ribbon and click ‘Open’, then ‘Recent’
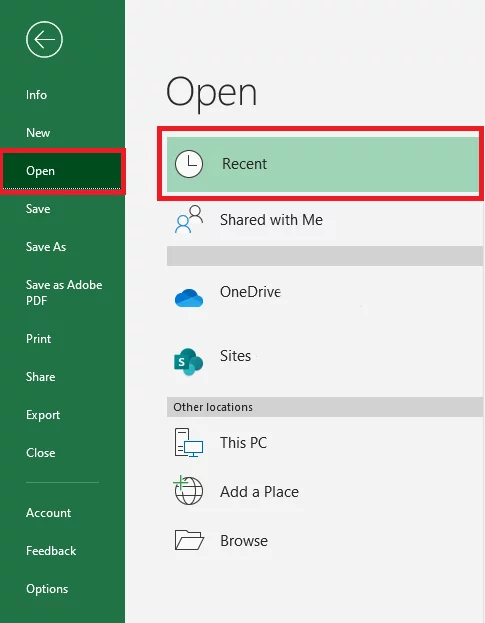
Clicking this will open all the workbooks you’ve worked on recently.
You might find your file here if it was saved to a different location for some reason.
If you don’t see the Excel document you were working on:
Scroll to the bottom to find the button for ‘Recover Unsaved Workbooks’.
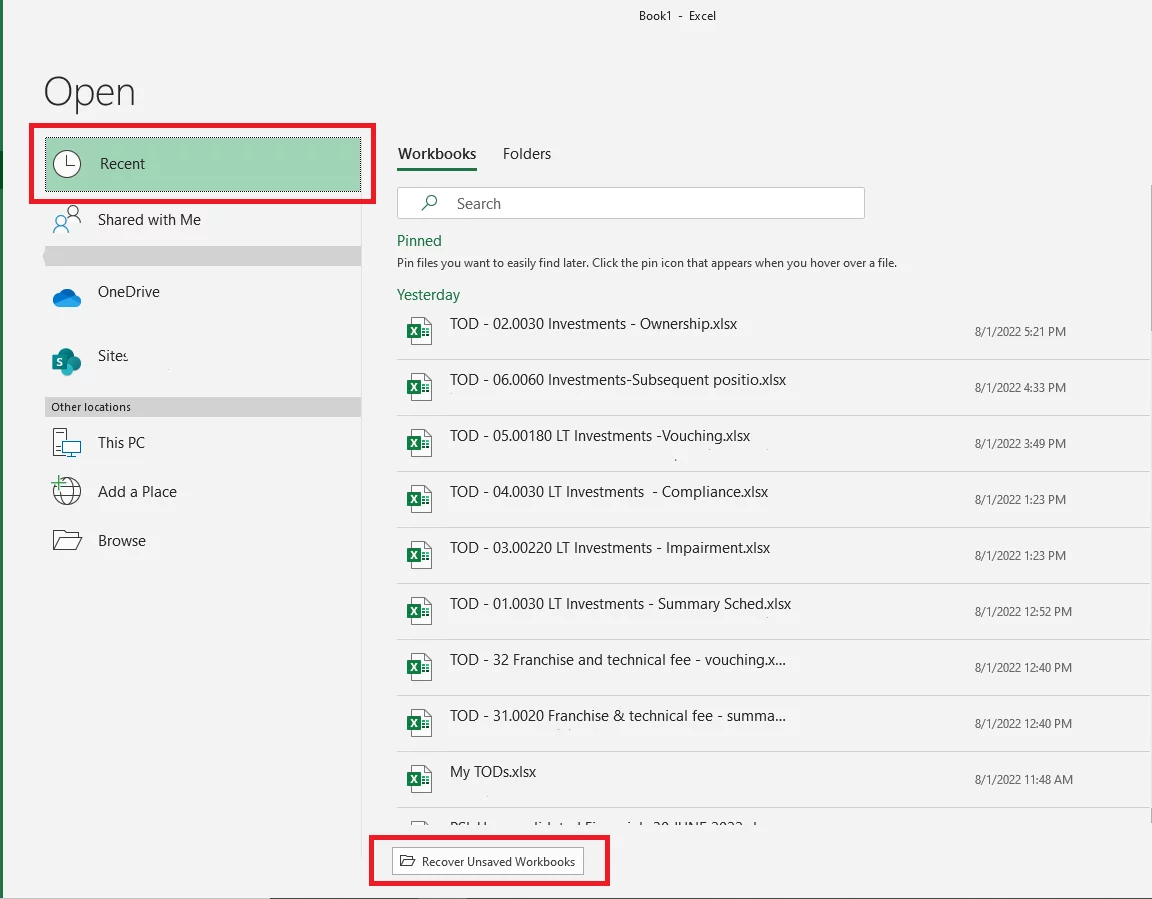
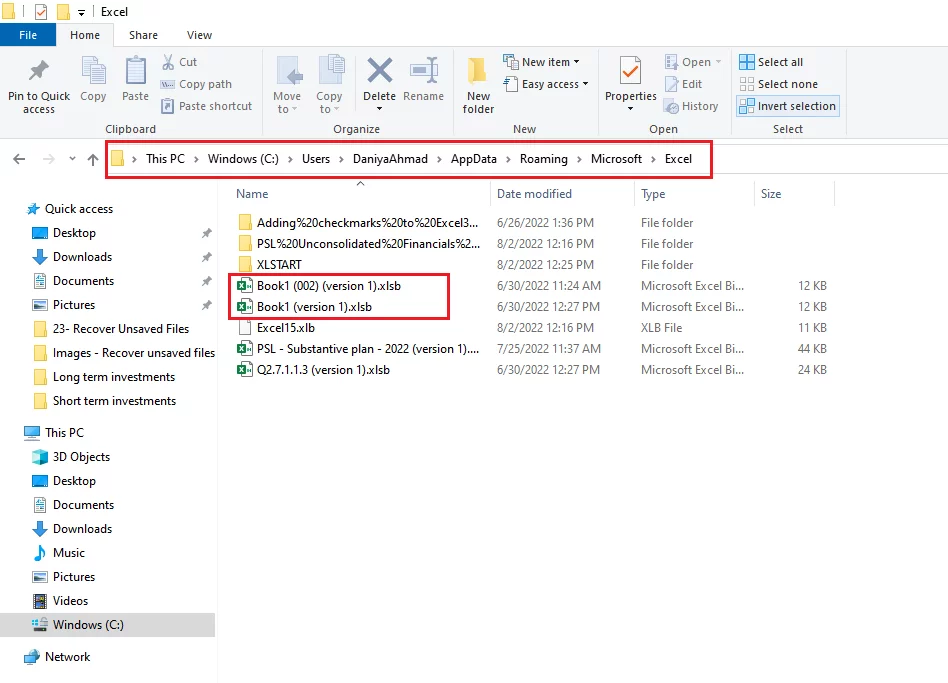
Clicking on this button will open up the folder where Excel retains the auto-recovered files.
If you named the file, you’ll find it easily here.
But if not, just go through the sheets one by one until you find your sheet!
Open up your file and go to ‘Save As’ to recover it and save it.
Keep this in mind when using methods like Collections in VBA, as they use so much data they can cause a lot of crashes!
2 – Document Recovery
When you open Excel after an abrupt close or crash – the Document Recovery tab will open up.
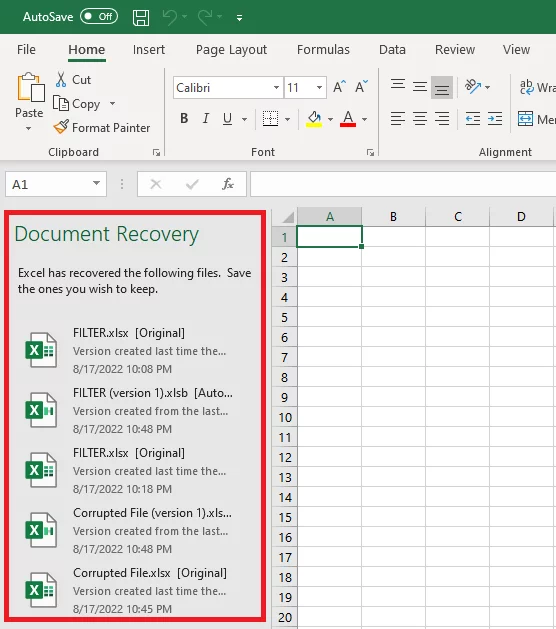
These might be different versions of the same file that Excel has saved at different times.
Clicking on each version will launch them, so find the most recent version and save it by pressing the F12 key.
Can’t find your data still? Try Using AI with Excel to generate it again for you, or at least give you a better starting point!
3 – Cloud Storage
Cloud Storage is the final way you can cover yourself for recovering documents.
We encourage people on our Excel workshops in London to use it all the time.
And Microsoft has its own system for cloud storage integrated with their products – OneDrive.
What is OneDrive?
OneDrive allows users to have storage space for all their data on a cloud database.
You can store your files on the cloud, protect them and access them from anywhere, on any device, at any time.
To get connected to OneDrive, simply log on to onedrive.live.com.
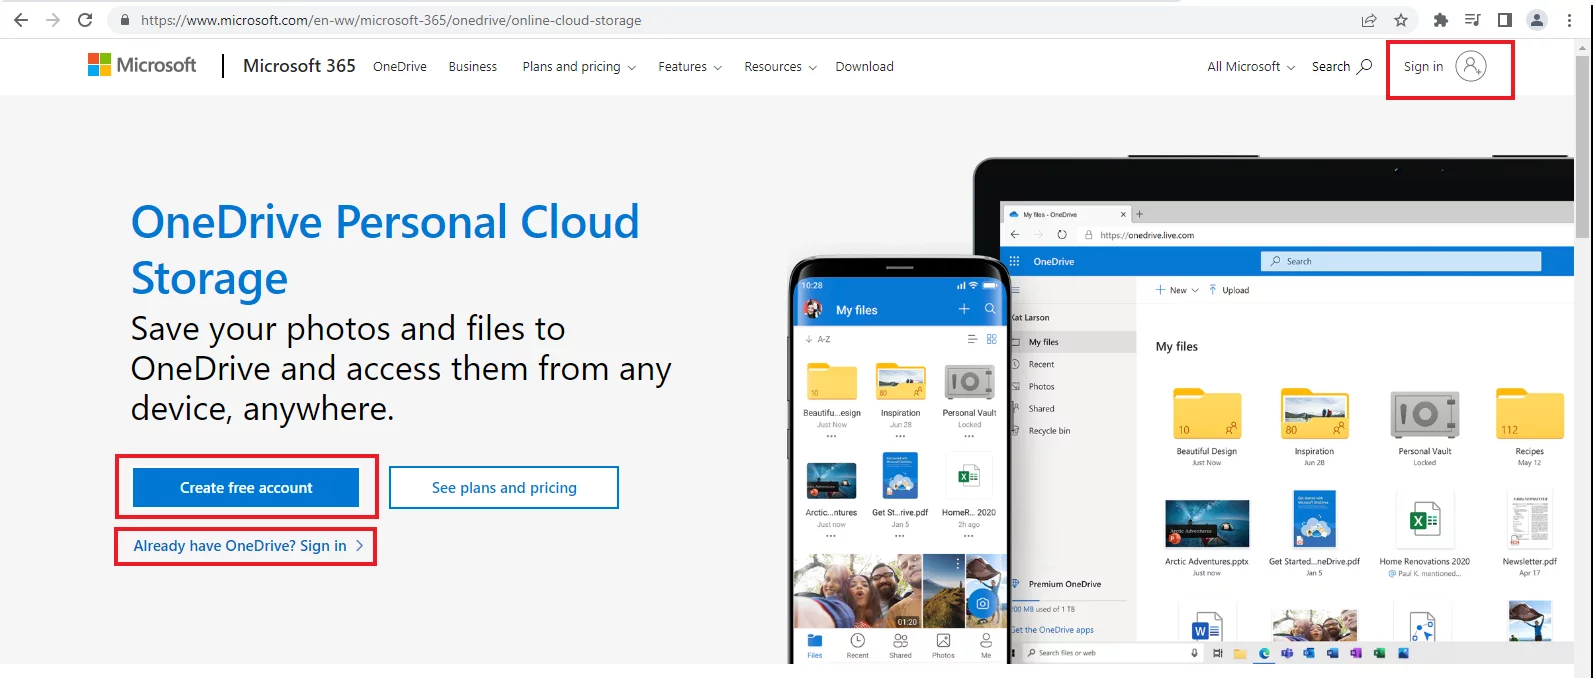
Sign in to register an account with OneDrive for free.
Choose between a personal or a business account, and let’s get going!
Enable AutoSave With OneDrive
When you have AutoSave enabled, all the work that you do will be saved to the cloud as you work on it automatically.
To enable AutoSave in Excel:
Step 1: Launch a workbook in Excel and go to File > Open.
Step 2: Go to ‘Save As’, and click OneDrive.
Step 3: Now just put it wherever you want, in a folder or otherwise.
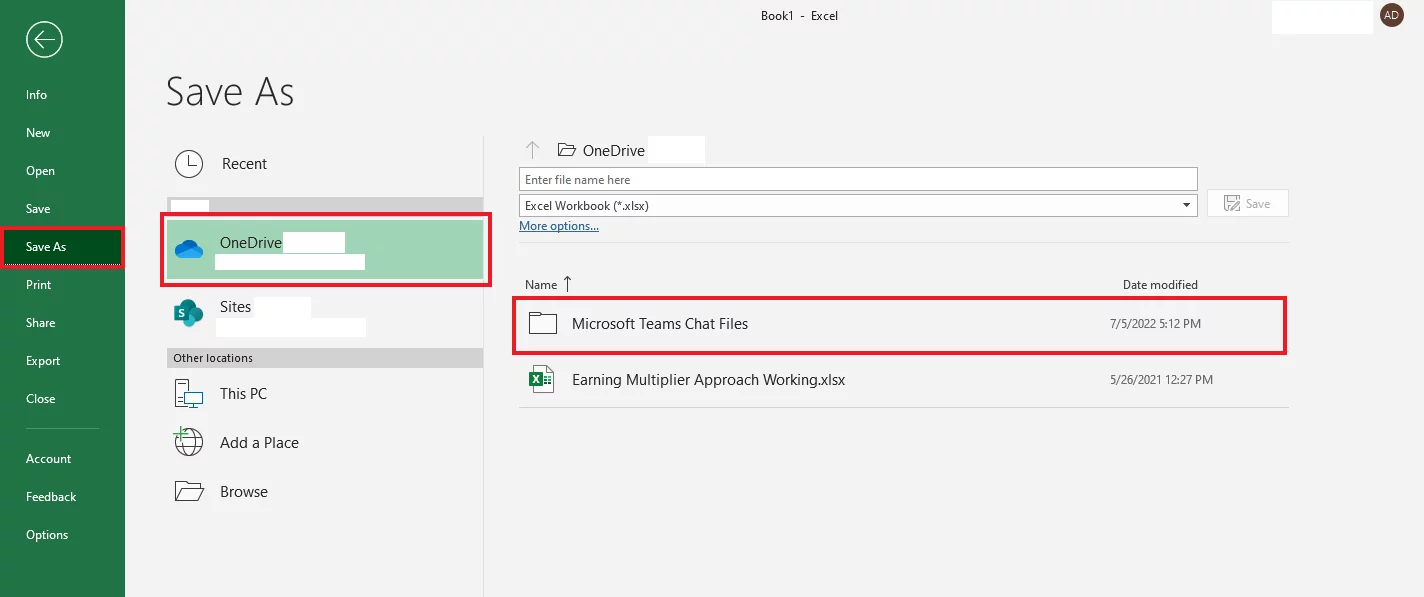
If you do not see any list appearing after clicking OneDrive, then you need to connect the accounts!
Go ahead and click Sign In, and enter your OneDrive account details.

Now you have your document saved in OneDrive, you can take it easy and work away without worrying about saving it!
Conclusion
Losing a file you have been working hard on – is scary.
But it is very common, every Excel user has been through it!
Remember to relax, and follow our steps one by one.
Take a moment to compose yourself, and do not panic!


- Facebook: https://www.facebook.com/profile.php?id=100066814899655
- X (Twitter): https://twitter.com/AcuityTraining
- LinkedIn: https://www.linkedin.com/company/acuity-training/