
Master Your Page Layout In Excel [Quick Guide]
Contents
Page Layout is the group of commands that control how you spreadsheet looks.
This guide will go over the best options to keep control of your Excel Document.
This will help you make your Excel pages more readable, more eye-grabbing and easier to present.
Controlling Your Page Margins
There is a choice of three built-in margin settings: Normal, narrow and wide. To get to Normal:
1) Choose page layout
2) Hit the Page Margins drop down menu
3) Click the Normal Margins option
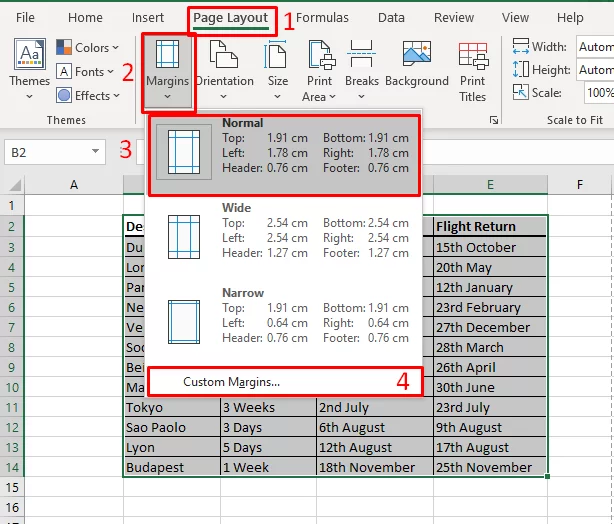
If you take a look at the picture above, you will see that right at the bottom of the drop down list is a ‘Custom Margins’ choice (4)
4) The Custom Margins button will produce the dialog box, with the Margins tab highlighted.
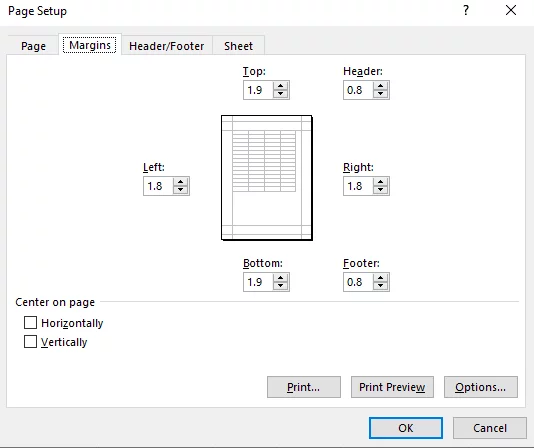
Here you are able to adjust the margins to your exact requirements.
You are also able to centre your image on the page here, either horizontally, vertically or both.
We show people on our Microsoft Excel courses in London that this is the easiest and most effective way to take control of your page layout.
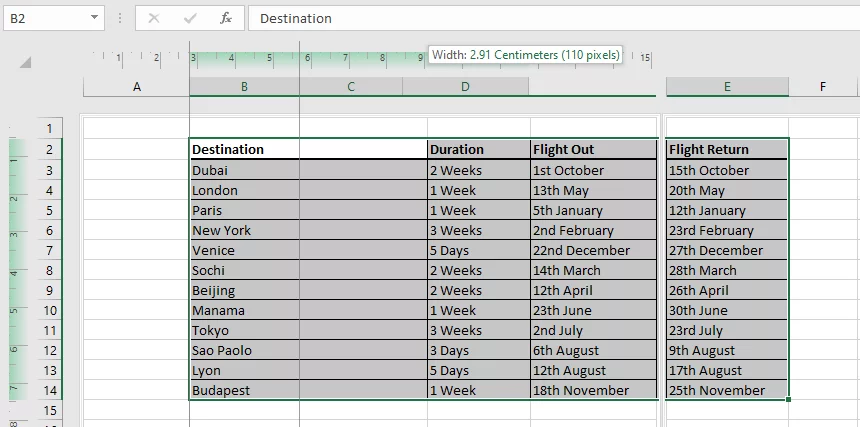
Changing Margins By Dragging
To do this you need to go to the ‘Page ‘Layout’ view.
There is a tab called Page Layout we have been using so far, but we do not want this.
- First hit the View Tab
- Then hit the Page Layout button
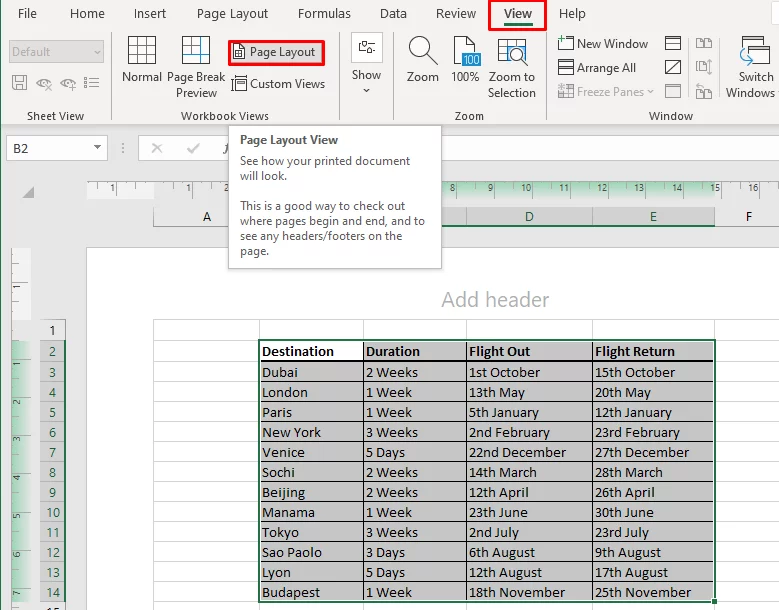
With your mouse you can then grab the margins and move them around.
When you have got a hold of it, you will see a thin dotted line, wherever you let o of it, that is where the new margin will be.
If you make a mistake, just hit CTRL-Z to undo it.
Another great way to control your page layout in Excel is by using drop down lists, which are also great when your data needs user input.
Centring On A Page & Paper Orientation
By default Excel will print in the top left hand corner of the page.
If you want it to print elsewhere you need to tell it to do so.
To centre it on the page we need to product the dialog box again as before.
This will open the box you see in the picture below.
You will see on the lower left-hand side the options to centre horizontally and / or vertically.
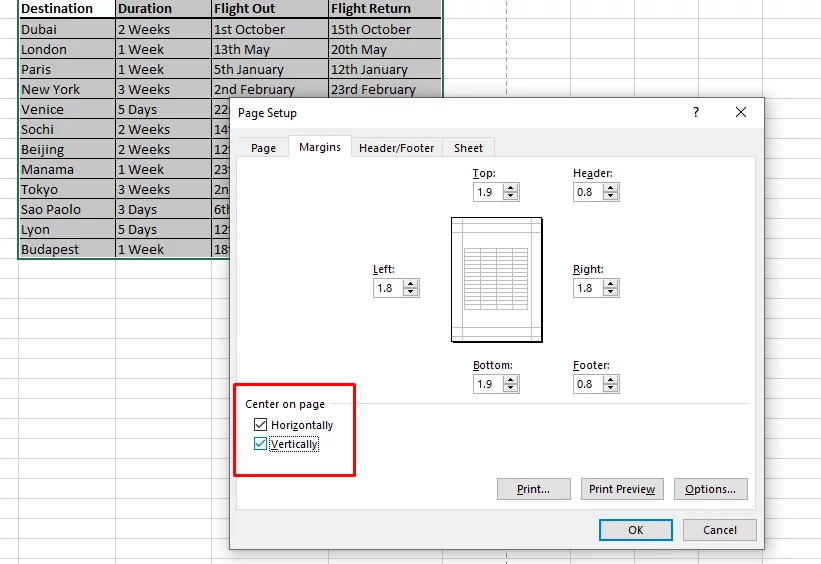
When you have centred both, it will look similar to below.
You will also see in the top picture in this section you have the opportunity to decide which way round you want your paper.
There are a wide variety of standard paper sizes to choose from when you click the ‘Size’ button, and you also have the opportunity to set your own custom size.
Adding some simple borders to highlight important data points is another great way to make your worksheet more presentable.
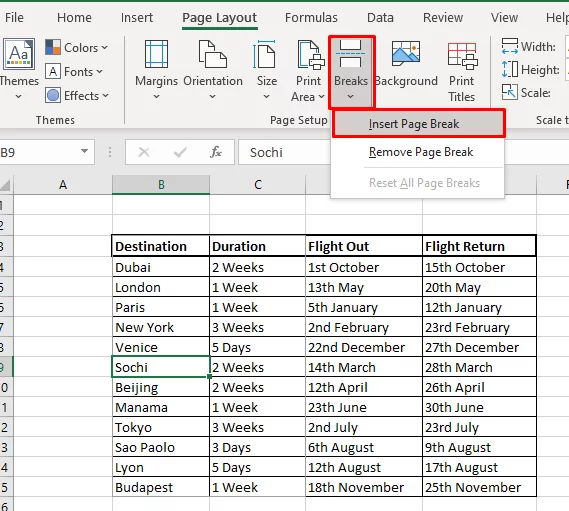
Inserting / Removing Page Breaks
Excel will create its own breaks, based on the size paper you have selected. However, you can choose to insert your own.
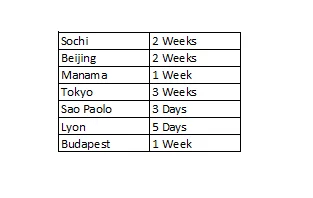
For this I have selected the line of data beginning with “Sochi”.
To get there:
- Select tab page layout
- Hit the Breaks drop down
- Click Insert Page Break
You can see beneath the insert choice there is a remove Page Break and reset all Page Breaks choice too.
If you wish to see an overview of the breaks navigate to view/ page break preview.
From here you are able to drag the thick blue lines with your mouse to reset the breaks.
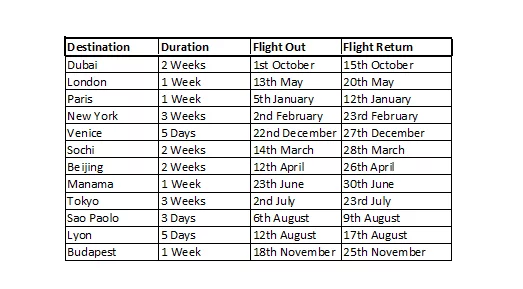
Here is a preview of the printed page with the page break.
After creating a page break, you can also freeze the panes that show the data headers – keeping them visible at all times!
Setting a Background
The background is the area behind any data or charts that you add to a worksheet and is white by default.
If you fancy a change you can insert graphics/ photographs / company logo pictures into the background.
This is a great option when it comes to presenting data models to colleagues.
They are inserted at their default size and cannot be adjusted once they have been inserted.
If you wish them to be more transparent you will need to have them ready like that before inserting.
To insert or delete a background:
- Go to Page Layout
- Click background in the page setup group.

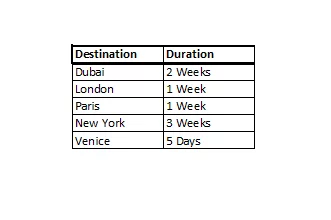
Setting Rows as Repeating Print Titles
When printing long spreadsheets Excel will only print row and column headings on the 1st page by default.
If you have a long spreadsheet, trying to remember what all of the column headings are can be quite confusing.
To print them on every sheet do the following:
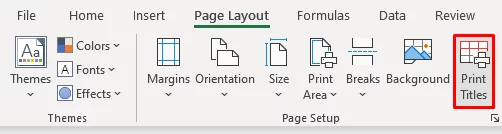
- Go to Page Layout again
- Click Print Titles
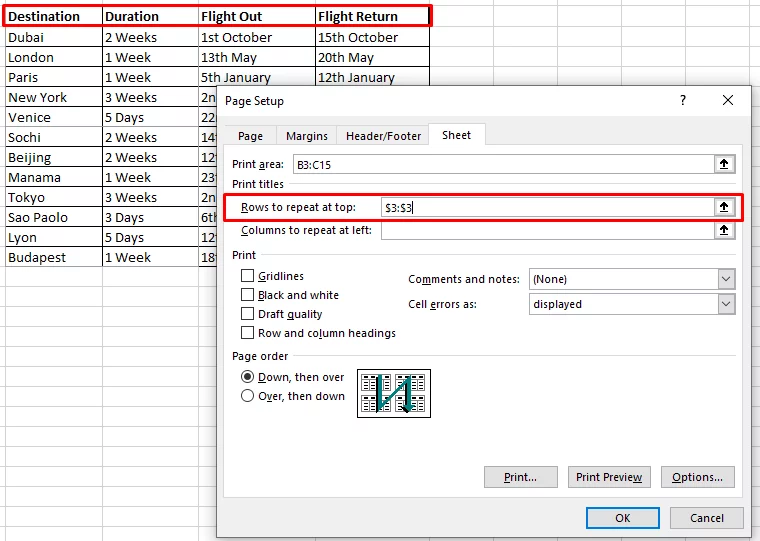
Excel will auomatically put row 1 in this section.
However you can adjust it any way you like – here I have chosen the top line of my data.
Another great way of keeping your page layout under control just for yourself is by using the Focus Cell, which will ensure you are always in the right place.
Printing Gridlines & Headings
Gridlines make reading and making sense of a large amount of data far easier.
They show on screen by default but are not always automatically printed.
Below you can see that if you navigate to Page Layout / Sheet Options you can choose whether to view and print your gridlines.
Next to it you will also see you have the same choices with headings.
Headings are the letters across the tops of the columns and the numbers down he left hand side of the rows.

From the picture above you can see that you are also able to scale your spreadsheet by a percentage to fit your paper.
You can see the changes on your screen as the dotted lines will move each time you change the scale.


- Facebook: https://www.facebook.com/profile.php?id=100066814899655
- X (Twitter): https://twitter.com/AcuityTraining
- LinkedIn: https://www.linkedin.com/company/acuity-training/