
Import Data To Excel With Power Query! [2 Step-By-Step Examples]
Contents
Power Query transforms data and makes it usable.
You can import any data into a Microsoft Excel sheet and then transform it for your needs.
This includes adding or deleting columns, filtering data, changing the data type, merging tables, and much more.
Everything in Power Query boils down to these three stages:
- Connect / Import Data
- Transform or Combine
- Load#
Note: Power Query does not update automatically! If you need live updates, DirectQuery might be a better choice.
Importing Data With Power Query
Importing data in Microsoft Excel using the Power Query tool is simple enough.
The import method can slightly vary with the kind of source file from where the data is being imported!
However, the basics remain the same.
Step 1:
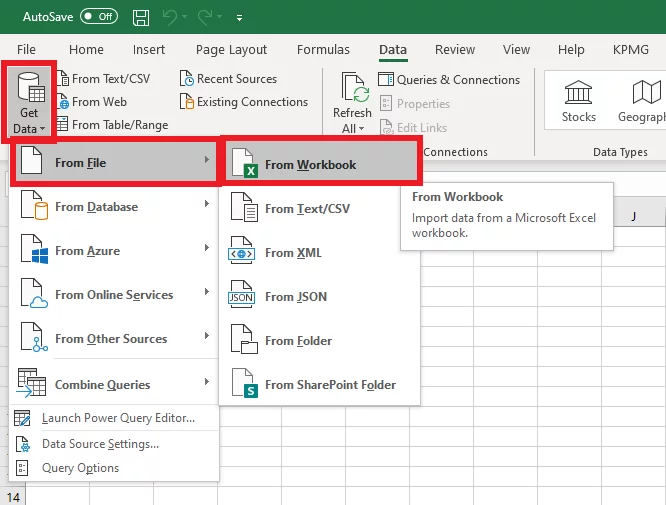
Go to the Data tab on the Excel Ribbon.
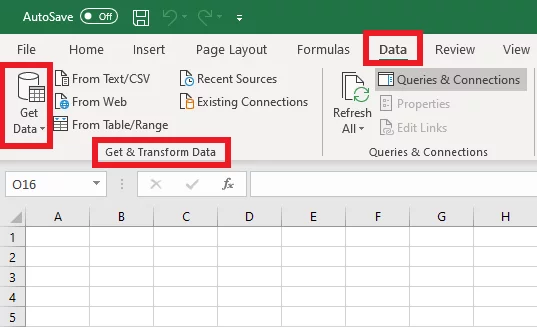
Get & Transform Data > Get Data > From File > From Workbook
Step 2:
This opens up a Browse Dialogue Box as below. Navigate to the location from where you want the workbook to be opened.
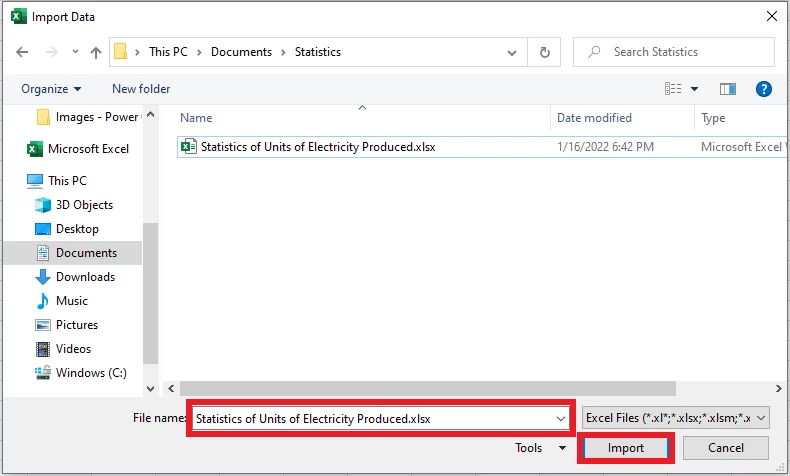
Select it and click import.
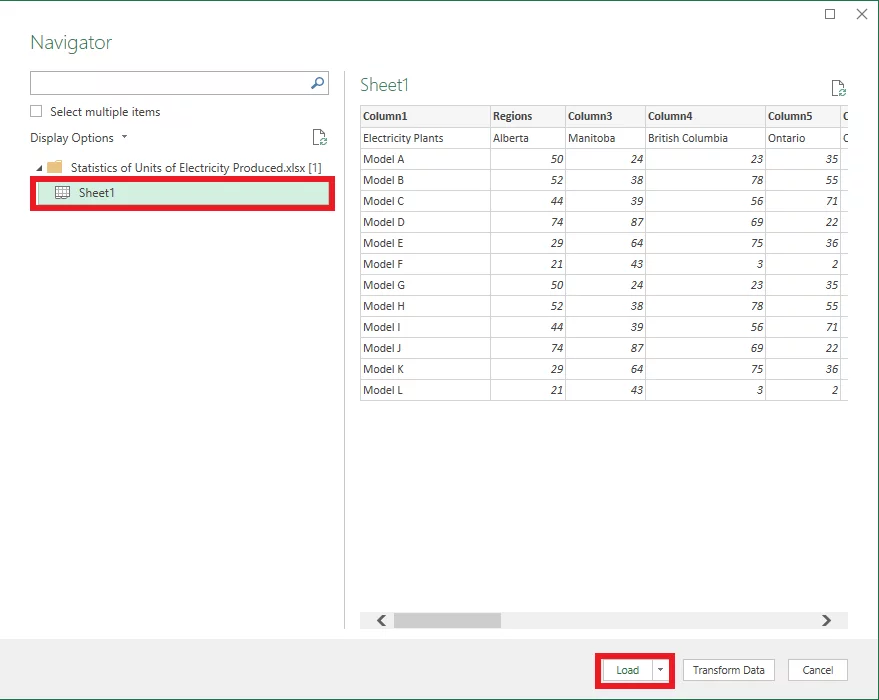
This should open up the Navigator window as shown above. Click the file to preview the contents.
Tap Load if you simply want to load the data into Excel, or choose Transform if you want to transform it before loading it.
Let’s look into another example of importing data using Power Query from a text file.
Here is an insight into the text file that we want to be uploaded to Excel.
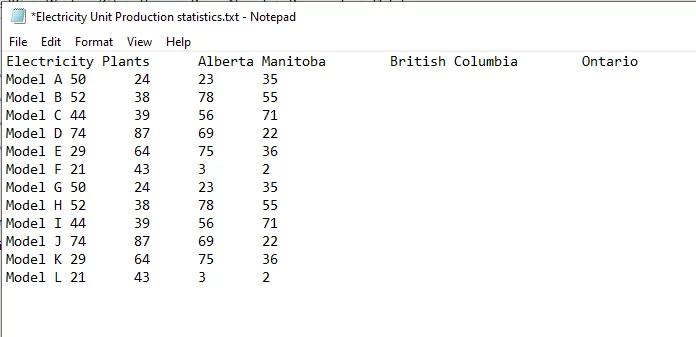
Once it’s in Excel, we can use the data to make a Forecast from it.
To tabulate the given data in Excel, follow the steps below.
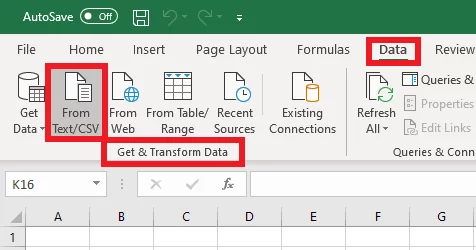
Step 1:
Go to the Data tab on the Excel Ribbon and select Get & Transform Data > From Text/CSV
Step 2:
This opens up a Browse Dialogue Box as below. Navigate to the location from where you want the text file to be opened. Excel would only identify and show files with the .txt extension.
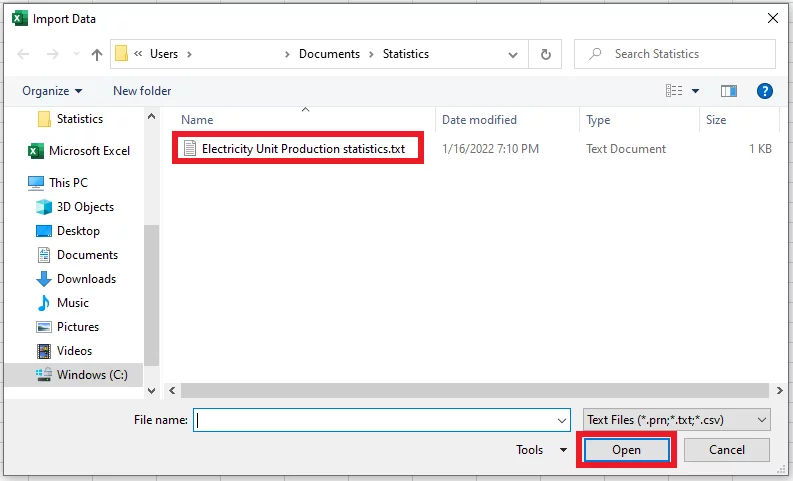
Select it and click import.
This should open up the Navigator window as shown above.
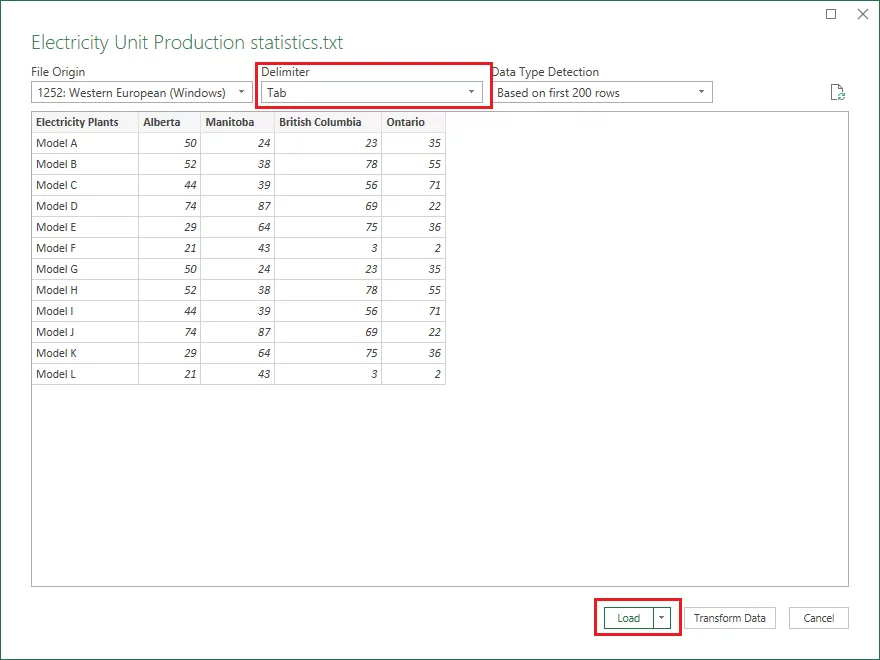
Click the file to preview the contents. When importing data from a text file, you’d have to specify the delimiter, i.e. the basis upon which you want the columns to be split.
In the given file, we have chosen ‘Tab’ as the delimiter.
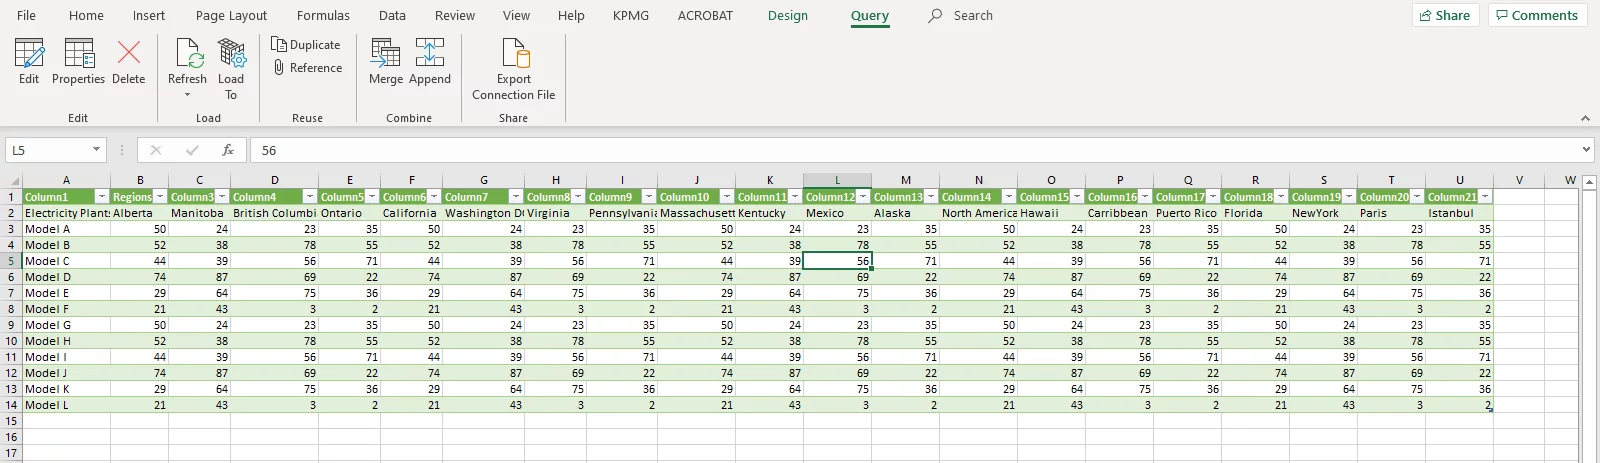
Tap Load if you simply want to load the data into Excel or choose to transform if you want to transform it before it’s loaded in, like so:
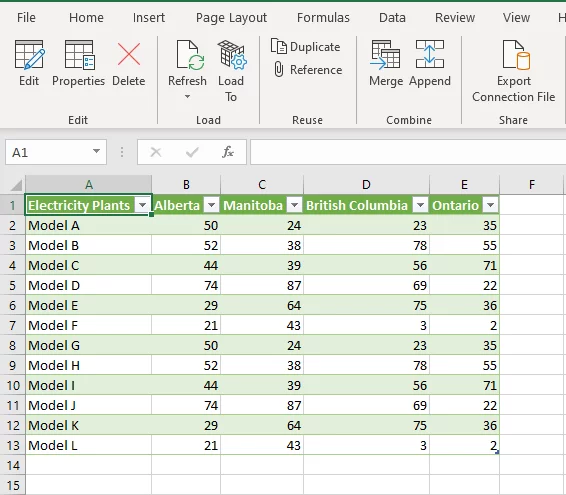
You can use other features like the transpose function to keep transforming your data after it’s imported.
Power Query Use Cases
Power Query is widely used to import, cleanse, transform and consolidate data.
It is mainly used to process large sets of data that are imported from various sources through manipulation and collation of data from different source files including text, CSV, Excel and pdf files.
For instance, a business with its operations spread across multiple regions might have to consolidate its accounts periodically.
Summary of accounts prepared in different regions might be in the functional currency of that region. Currency translation and accounts’ consolidation each month can get really hectic and sometimes, erroneous.
To help the cause, you may employ Excel Power Query. It can help you with the import of multiple files in different formats. You can then apply different transformations including change of currency and formats and load it together to Excel to consolidate final accounts.
It is beneficial to deal with such data with Power Query as it doesn’t change the data source file, but the data is only cleansed and imported in Excel as a snapshot. Any changes that you make to the source file are automatically updated in the Excel sheet when refreshed.
Also, even if you source thousands of rows of large data through Power Query, it won’t make your Excel file heavier as the data is not directly imported to Excel.
Power Query goes hand in hand with VBA, as advanced features of Excel that enables data importing!
Troubleshooting Power Query
Power Query is an advanced tool of Excel that can ease your job by a hundred times.
This advanced tool can sometimes get tricky to use and may put up undue errors.
Some common errors faced by Excel Users with Power Query are as follows.
1. DataSource Error
As the name verily suggests, this error relates to the source file of the data you’re trying to import. Excel might pose this error when the proposed data source is either inaccessible or has been moved from the browsed location.
For example, some files on your PC may be restricted by a user. Or they may be placed on a disk space that is only accessible by a particular user. Importing this file will give a DataSource error.
A quick solution to this is to make the file accessible by seeking restriction removal from the authorized user. Or change the path of the file to have it stored in a disk you’ve access to.
2. Setting up queries
Setting up queries in Power Query needs some thought, particularly when you need to refresh them time and time again.
Queries will only work effectively when set up in a logical order, starting from filters and error handling steps up till the addition of columns and other transformations.
3. The Undo Option
Users who come across Power Query for the first time find it disappointing to see nothing happen upon pressing ‘Control + Z’. You can’t undo your previous action in Power Query that way, but by removing your last applied step.
Everything you do in Power Query is saved as an ‘Applied Step’ and appears in that small window on the bottom right. Move your cursor over the relevant step, and on the left would appear a small cross as follows.
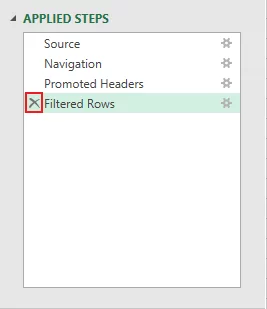
Click the cross to cancel the last performed step and undo the undesired action.
On our City of London MS Excel courses, we always recommend people learn how to use the tools in the formula auditing tab so they can confidently deal with errors.
Conclusion:
The above article should give you an insight into how Power Query works.
You can use this intelligent and advanced function for multiple purposes.
There is much more to Power Query to unleash – keep practicing, and you’ll become a pro in no time.


- Facebook: https://www.facebook.com/profile.php?id=100066814899655
- X (Twitter): https://twitter.com/AcuityTraining
- LinkedIn: https://www.linkedin.com/company/acuity-training/