
4 Different ways to Print your PowerPoint Presentation
Contents
When creating a PowerPoint presentation it can be tempting to just select print slides and get your hands on a real copy of your work.
However, PowerPoint printing has several different layouts and settings for printing presentations.
This guide will go through all your printing options in PowerPoint and how and when to use them in order to get the most from your PowerPoint presentations!
Good use of different print settings will make your slides in PowerPoint stand out more, and better communicate your information.
If you want a clear and thorough understanding of everything PowerPoint we run PowerPoint training to help people.
To get through to the Print Menu you have to select the File tab, then click Print – and all of the printing options in PowerPoint will be shown to you.
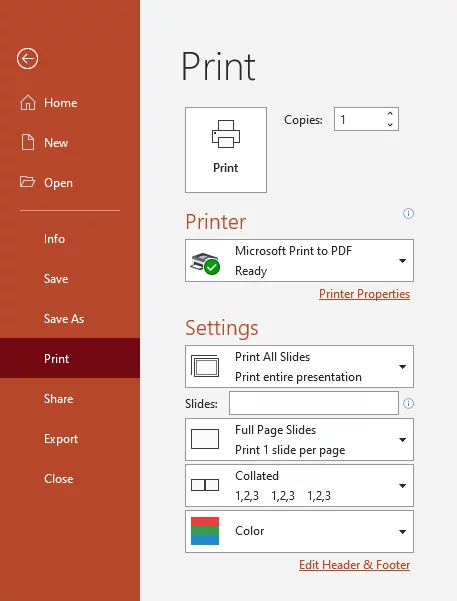
Here we can see several key elements. The Print button is big and clear, and below it you can select the printer you want to use as well as several different printing options including layout, Collated or Uncollated and Color. These print settings are concerned with the different layouts you can use when printing Powerpoint.
Print Layout In PowerPoint
PowerPoint has a variety of different print layouts for you to select when you print your presentation. Each layout has it’s own strengths and weaknesses, and it is ultimately up to the user to pick between them. We will provide some situations where we believe a certain type of printing in powerpoint would be useful. Shown below is the drop down where you can pick whichever Print layout you want.
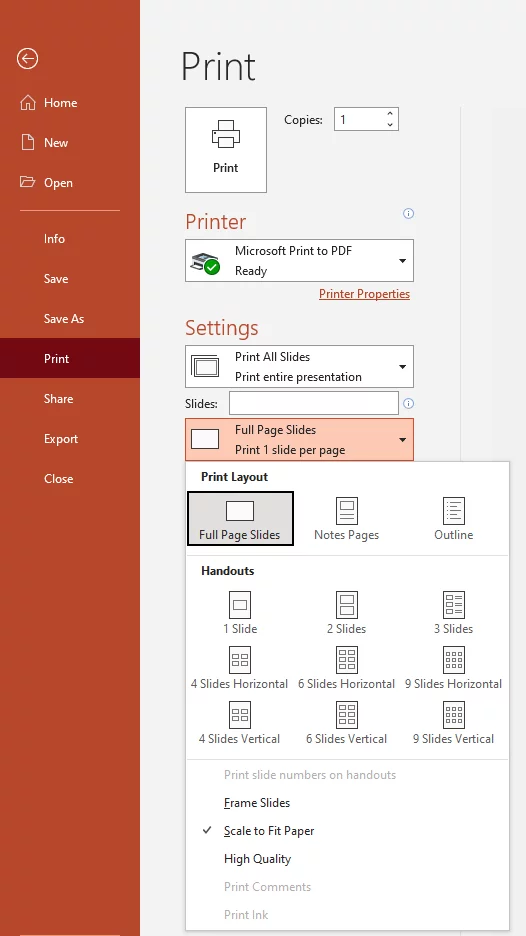
1) Full Page Slides:
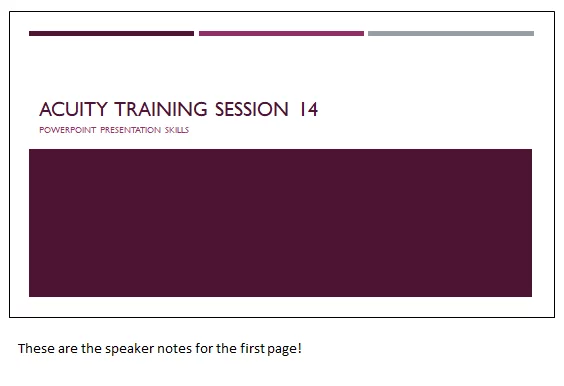
All your powerpoint slides will be printed. This looks like a whole page of paper for each and every slide in the presentation. This method is great if you want to print and lookover your presentation and inspect its changes coming onto paper.

2) Notes Pages:
This prints each slide as before, as well as all of the speaker notes. Notes Pages is a great choice if you have lots of notes you want to read through as you present your work. You can print these special notes for yourself. Additionally if there is extra information you want to print on the speaker notes you can print them for everyone to read.
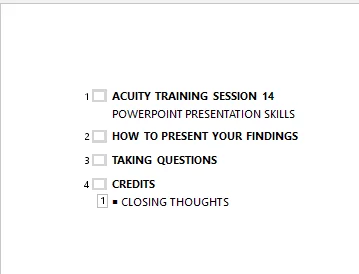
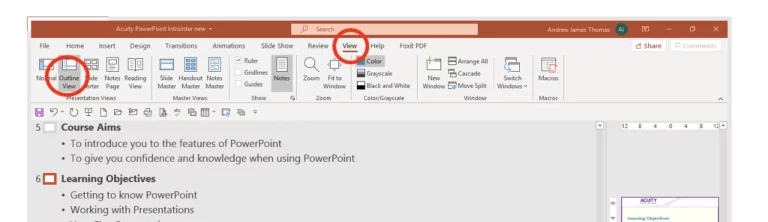
3) Outline:
This only prints an outline of your slide show. This can be used if you want to look over or show the organization of your slide show. Having this around when giving a presentation can be helpful to know what is coming up next. You can view the outline within powerpoint using this comprehensive guide.
4) Handouts:
This prints small images of each slide, with space for people to take notes. This is great in a setting where you need your audience to take lots of notes as it keeps them in a place where they make sense contextually. I also often use this as a way to write speaker notes when I’m making a presentation. It even keeps the slide number below for clarity.
A great example of this would be a teacher in school using printed handouts for students (you would want to make many copies in this case).
When you print handouts you can choose how many slides per page you want to print.
I would recommend using three slides per page so they have breathing room, but there’s space to make notes on each copy of your presentation.

Once you are happy with your format choice just click print and PowerPoint will send it off in the correct format!
Additional Handouts Settings
You will notice when you select any type of Handouts, some extra options will be come available at the bottom of the tab. These options will help you to further distinguish your handouts. Making proper use of these settings when you print handouts is key.
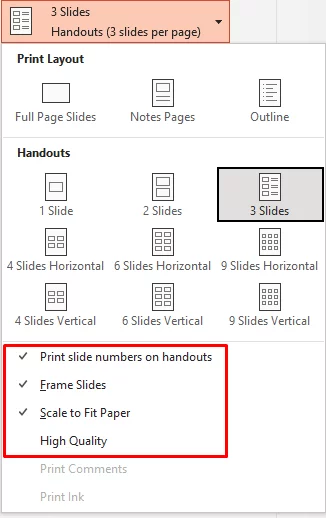
Frame Slides:
Framing Slides gives a clearer line between where the slides end and the empty space in the handout begins.
Scale To Fit Paper:
The amount of space you can print on the margin is different for every printer. Scaling to Fit paper will ensure that the entire slide is visible.
High Quality:
For very high standard handouts. This option will use extra toner and ink from your printer, making the appearance resemble something like a high class brochure. Don’t use this option for an everyday handout!
The Print Comments and Print Ink settings are made available when the presentation is peer reviewed and commented on.
Want to see how people are using PowerPoint today? Check out our PowerPoint statistics here!
Print Specific Slides
Using the Slide Range tool allows you to customise exactly which slides you want to print out rather than just print all slides. You can type a custom range of slides into the following box in the print range (we have used 1-2) and click Print and PowerPoint will only print those slides! You can also simpy write the slide numbers as 1,2,3,4 etc instead of a range.
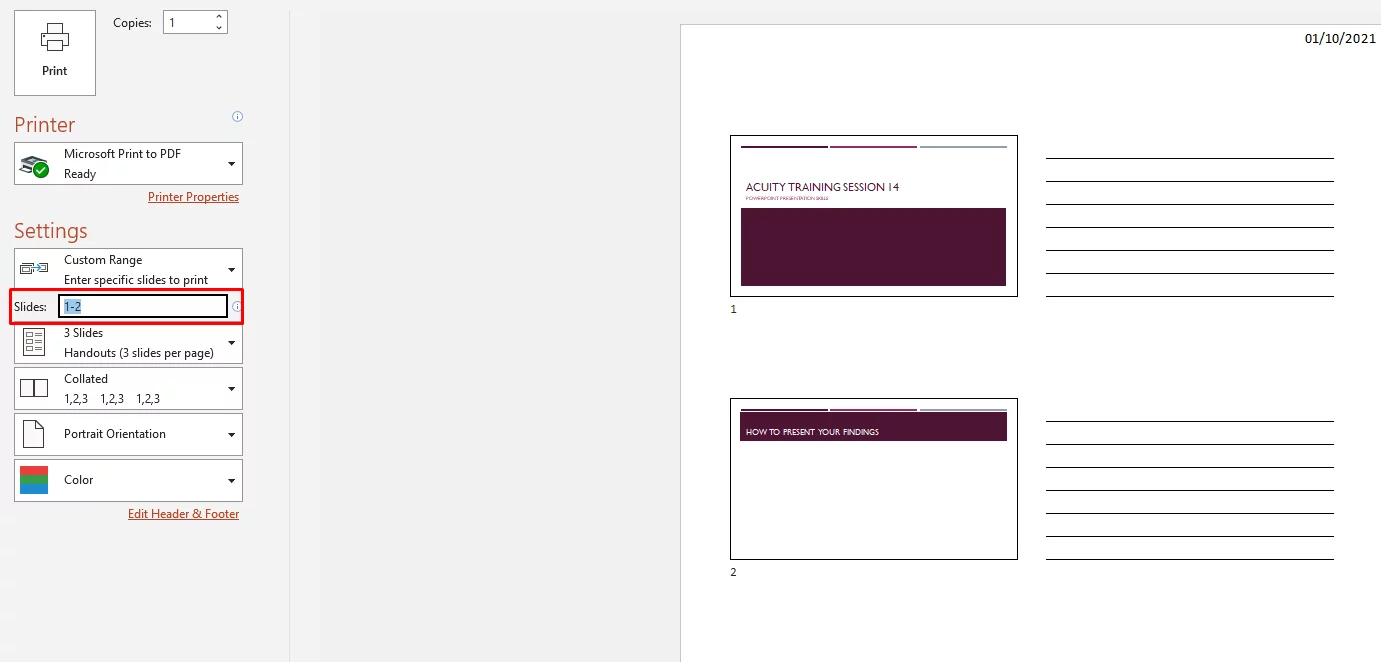
This is a great tool as it lets you choose to print specific slides without having to create another file for another version of the presentation! Additionally if you have lots of slides to print but just want to view the appearance, you can just print out one or two to see how they appear on paper. You can also learn how to insert slides from other presentations with this step-by-step guide

- Facebook: https://www.facebook.com/profile.php?id=100066814899655
- X (Twitter): https://twitter.com/AcuityTraining
- LinkedIn: https://www.linkedin.com/company/acuity-training/