Mix A Human And Animal Face! [PhotoShop Design Tips]
Contents
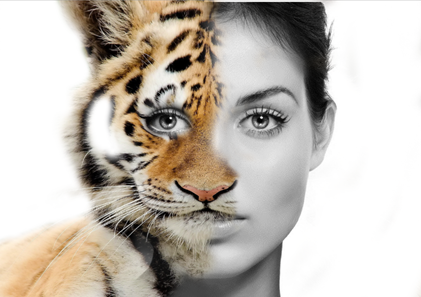
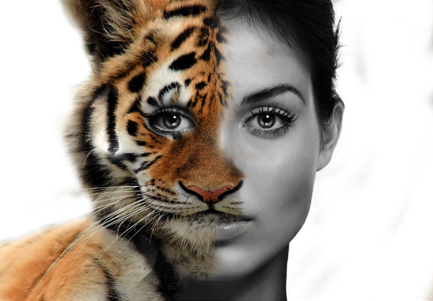
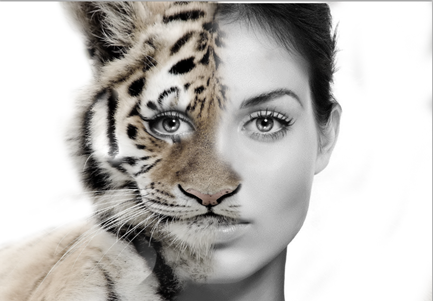
This Photoshop article will show you how to create a half woman half tiger picture using Layer masks. This technique can be applied to combining any animal picture with any human picture.
We cover layers in both our introductory and advanced Photoshop courses.
Layers are covered at a simpler level before returning to them in much more detail.
Setting Up Our Images
First things first, you will need are portrait picture and a picture of an animal. For this example we are using a Tiger.
The first thing you want to do is make two copies of your portrait. This allows you to edit one in Photoshop without worrying about messing it up because you have the other saved as a backup!
Next you need to put your image of an animal over the top of the portrait layers.
The picture should not be smaller than the portrait picture as we are trying to join the two together. It would look strange if the animals features’ aren’t the same proportion as those in the portrait.
Edit The Animal Layer
Now we want to change the opacity to about 50% so you can see the portrait though the image, see below.
Next we need to warp the animal image so that the eyes and nose are roughly in line with the portrait’s eyes and nose.
To do this, go to Edit and then down to Transform and then down to Warp.
You will see boxes appear over your image. Drag them until the the nose and eyes fit over each other and then hit enter.
Once you are happy with the alignment of the nose and eyes then its time to add a layer mask.
Add A Layer Mask
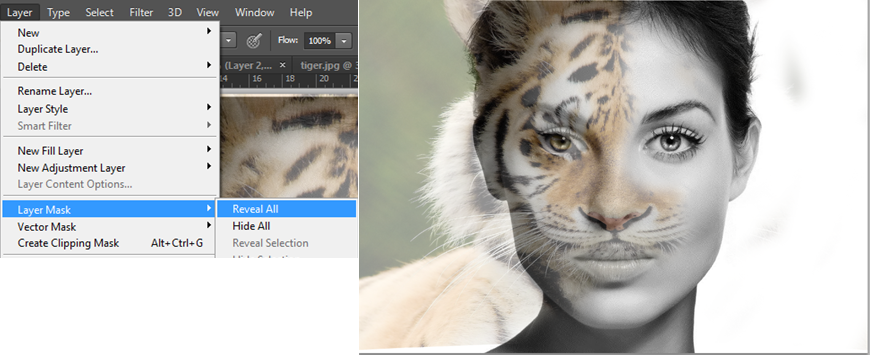
To apply the layer mask select the animal layer and then go to the Layer tab and down to Layer Mask. Now choose the first option Reveal All.
This means when you paint in black onto the animal layer it will start to disappear, you can use white to reverse this method. You are going to want to paint in black over the right-hand side of the image.
This will make the portrait show though on that side.
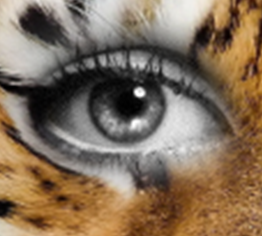
To better morph the two images we need to get the eyes right and get the human eyes to show through.
To do this first select your paintbrush and choose a small brush size.
Then change it to black ink and paint over where the portrait’s eyes are so that you can see it instead of the animal’s.
Remove The Old Background
The next step after that is to get rid of the old background from the animal image.
To do this again I selected the paintbrush tool and selected black ink.
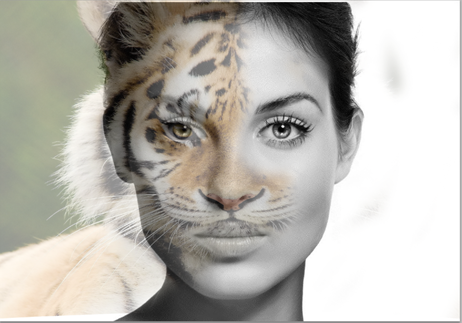
I then went back into the Layer mask and went over the background area. In this case it was very easy for me as the background colour was green not white.
After you have removed the background and changed the opacity back to 100% you are finished.
Extras!
You may find that you want to change the colours a bit when you’re looking at the finished article.
Often adding a curve or a saturation will really make your picture stand out. This is the fun of working in Adobe Photoshop.
With a curve adjustment:
With a saturation adjustment:
You can then go a step further and make your impage really impressive with a double exposure effect.
- Facebook: https://www.facebook.com/profile.php?id=100066814899655
- X (Twitter): https://twitter.com/AcuityTraining
- LinkedIn: https://www.linkedin.com/company/acuity-training/


