Microsoft Word: How To Use Mail Merge
Mail Merge is linking together a document with a source of data which could be names and addresses. Only one document is needed and when linked to the data source it creates the required number of documents from the number of records (rows of data) in the data source.
Here’s how it’s simply done: It’s easier to create the document you want to use first but you don’t have to. If you want to learn more about Word and it’s tools, why not view our article on how to convert text into a table.
Using Mail Merge – Getting Started
This section will help you get started with Mail Merge using a Step-By-Step guide.
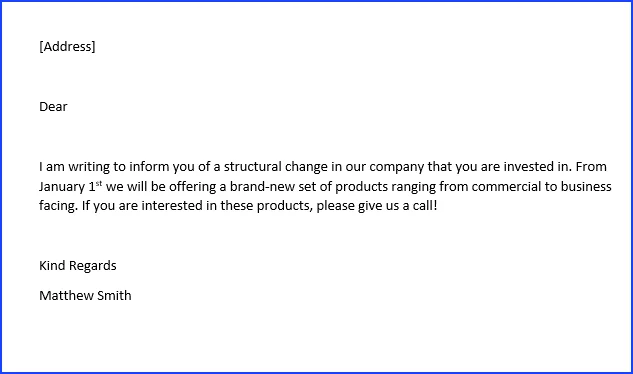
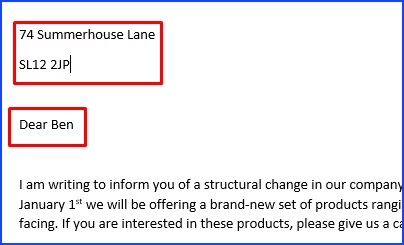
- Create a letter but leave blanks for name and address like this example.
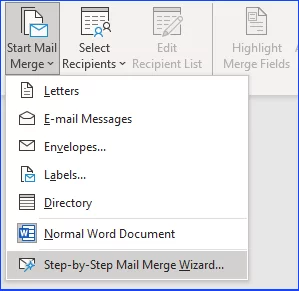
- We can now start to use the mail merge feature. Click on the Mailings ribbon and Start Mail Merge.
- Select the step by step mail merge wizard at the bottom of the list. This will lead you through the mail merge process.
Step-By-Step Mail Merge Wizard
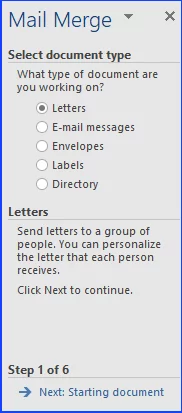
- Select your document type. In this example we will say ‘Letters’ click on next shown at the bottom in blue text.
- Choose the document you will be working on. In this example we are using the current document. Click on next shown at the bottom in blue text.
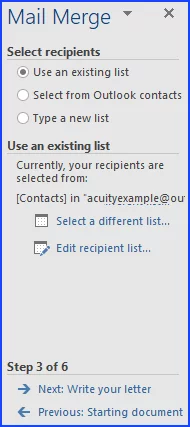
- We now need to type a list of the people we will be sending this letter to. In this example we will type a new list. You could browse for an old list or even select from your contacts in Outlook!
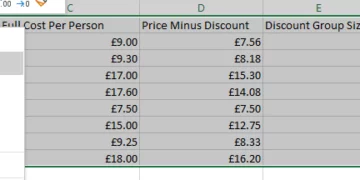
- Once you have typed in the information into the columns click on OK and save the list with the name ‘letter data’. Click OK on the next dialog box then click on next at the bottom.
For a couple more tips on word, read our guide on Using the Ruler and Paragraph Marks.
Mail Merge Fields
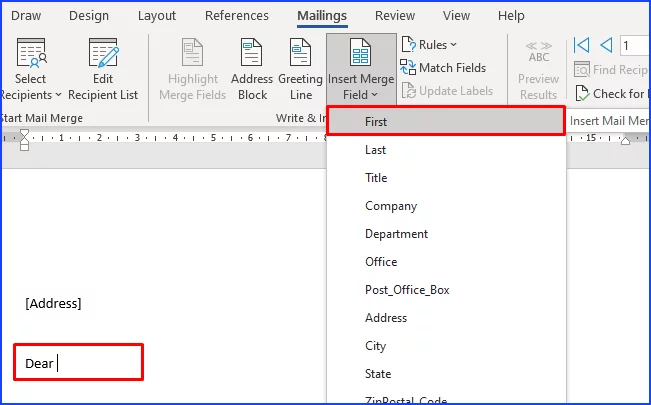
- Now you can insert the merge fields into the document. Click where you want the person’s name to go. Click on Insert merge field in the Mailings ribbon. Choose ‘Title’ press space then ‘first name’ press space then ‘last name’. Continue in the same way with the address. Click on next when complete.
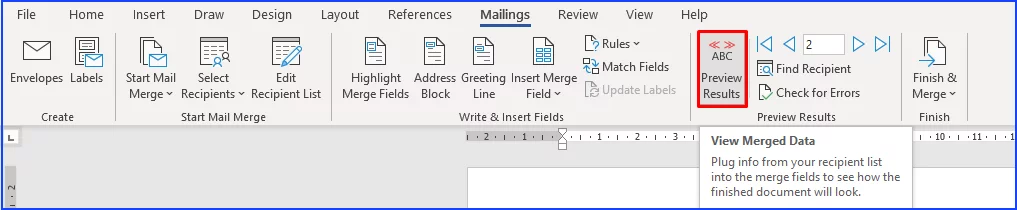
- We can now preview the results so we can see the data appear in our letter. Click on Preview results on the Mailings ribbon. Use the left or right arrows to move through your letters.
- If you want to exclude someone from the merge there is an exclude button in the right panel. (You may need to click the blue next option again to bring up the Preview section)
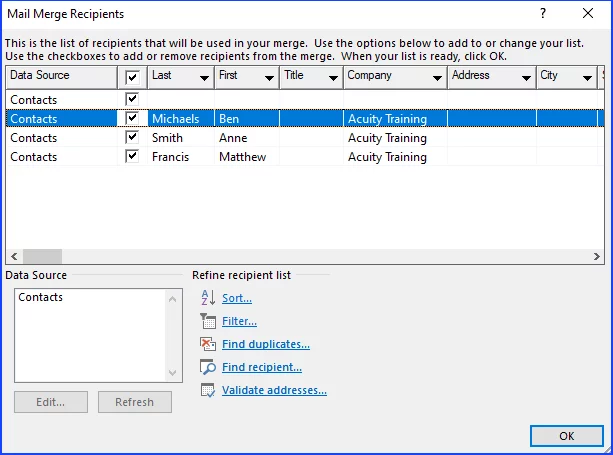
- If you have excluded someone, to bring them back, click on Edit recipient list in blue (just above the exclude button!) and tick the empty box next to their name. When complete click on next.
- It is now time to complete the merge process. Click the blue Next option again and you can either send the document to Print directly or you can choose edit individual letters which allows you to see all the letters on screen first. Your mail merge is complete!
Mail Merges are create for customising newsletters. Read our guide here on creating columns for a newsletter.
Conclusion
This guide has given explanations on mail merge and its tools. Using Mail Merge and Mail Merge Fields will help any user greatly to streamline their workflow, and increase efficiency.
If you want to learn more about Word, then why not attend one of our Word training courses. We run these across London and the South of England!