Microsoft Word: Paragraph Formatting – Text alignment / line spacing / paragraph spacing / simple bullets
Need to neaten up your Word documents? Luckily for you, we know just the trick! Follow our guide below on how to carry out simple paragraph formatting tasks in Word, such as text alignment, line spacing, paragraph spacing and bullet pointing.
Text alignment
When creating a professional document (or just one that you want to look really neat)
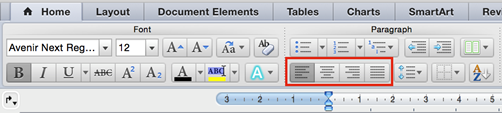
you will need to think about aligning your text. This basically means positioning it so that it all lines up neatly. You can do this using the text alignment buttons in your toolbar. We have highlighted them in red above.
There are four different alignment options.
- Align Text Left
- Centre Text
- Align Text Right
- Justify Text
It’s completely up to you which text alignment option you choose, however left alignment tends to be the most popular choice.
Line spacing
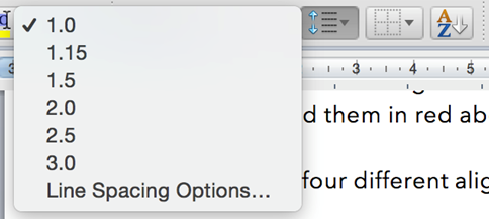
Word also allows you to alter your line spacing. As the name suggests, this is the space that goes in between each line you type. You can change the settings by clicking on the line spacing button in your toolbar (see the image above).
If you click on Line Spacing Options, you will find other options to choose from. Remember if you have already created a Word document and want to change the line spacing, you will need to highlight the text before selecting a new line spacing option.
Paragraph spacing
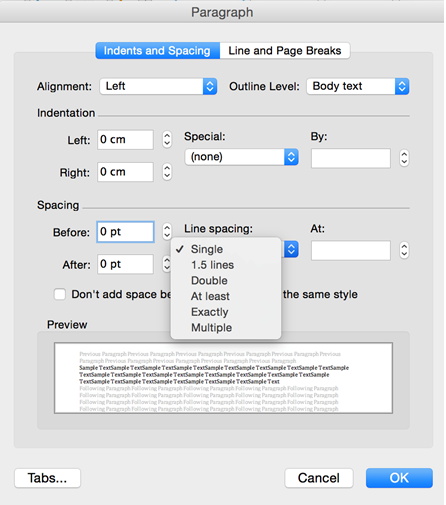
If you want more or less space between your paragraphs, you will need to alter the paragraph spacing options in Word. To do this you can either click on Line Spacing Options or click on Format in your toolbar and then Paragraph.
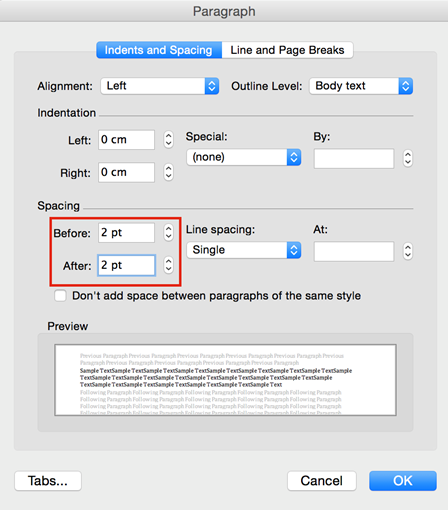
This will bring up the same box as for Line Spacing Options; however you will need to alter the boxes highlighted in red above to change your paragraph spacing.
The higher the value you enter, the more space will appear before and after your paragraphs.
To edit paragraphs you have already created, you will need to highlight them first.
Simple bullets
Often you will need to use bullet points in your documents to break up large chunks of text, provide instructions and create lists. Creating simple bullets in Word is really easy.
Simply click on the bulleted list button in the task bar and a bullet point will appear on your screen.
If you want to put existing text into simple bullets, simply highlight the text and click the bulleted list button. Every time you press Enter a new bullet point will appear.
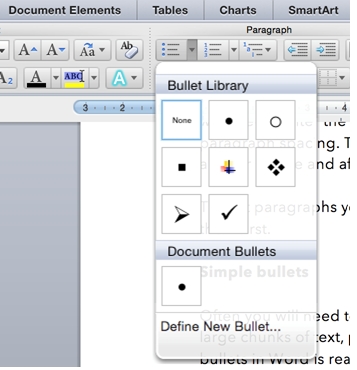
Changing bullet points
You can change the type of bullet point you use by selecting a new one from the bullet library. Simply click on the down arrow next to the bulleted list button to reveal the library and make your selection.
You can also change bullet points and add new ones by clicking on Define New Bullet.
This will bring up a pop up box where you can import new bullet pictures and change the position of both your bullet points and text.
Thanks to Words easy-to-use features, paragraph formatting is quick and simple.
Want to learn more tips and tricks on how to create professional documents in Microsoft Word? Attend one of our Microsoft Word training sessions. We cover a wide range of topics and cater for all levels of ability.